

BOTTOM FEED
The most important part of taking up painting with an Airbrush is the cleaning and care for it. Taking time to properly clean your airbrush is what will be the defining attribute to a nice clean airbrush painting. The saying used to be “your painting will only be as good as your equipment,” when it is in fact, ” your art will only be as good as how CLEAN your equipment is.”
Instructions
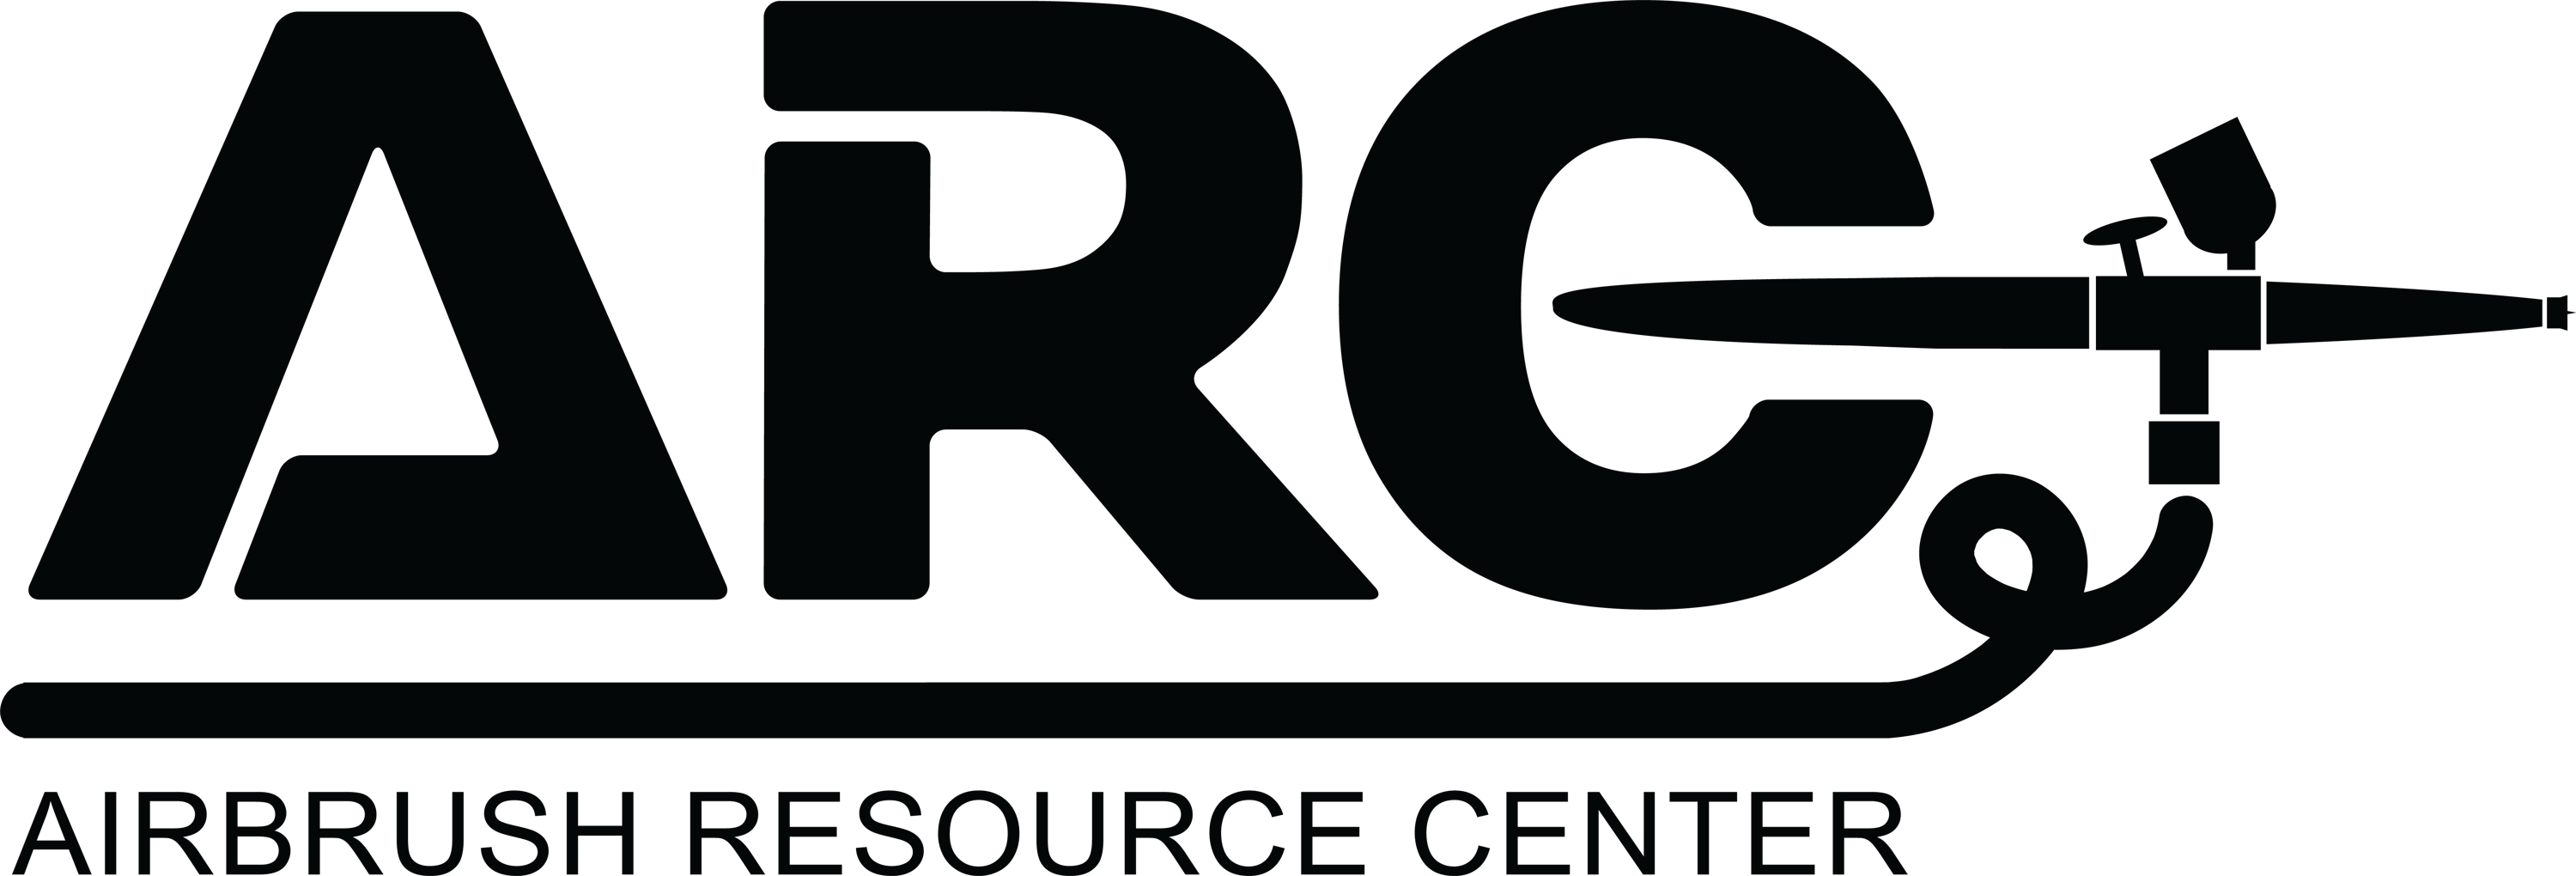
When removing parts, set aside in order, from right to left and refer to the Parts diagram when re-assembling your airbrush
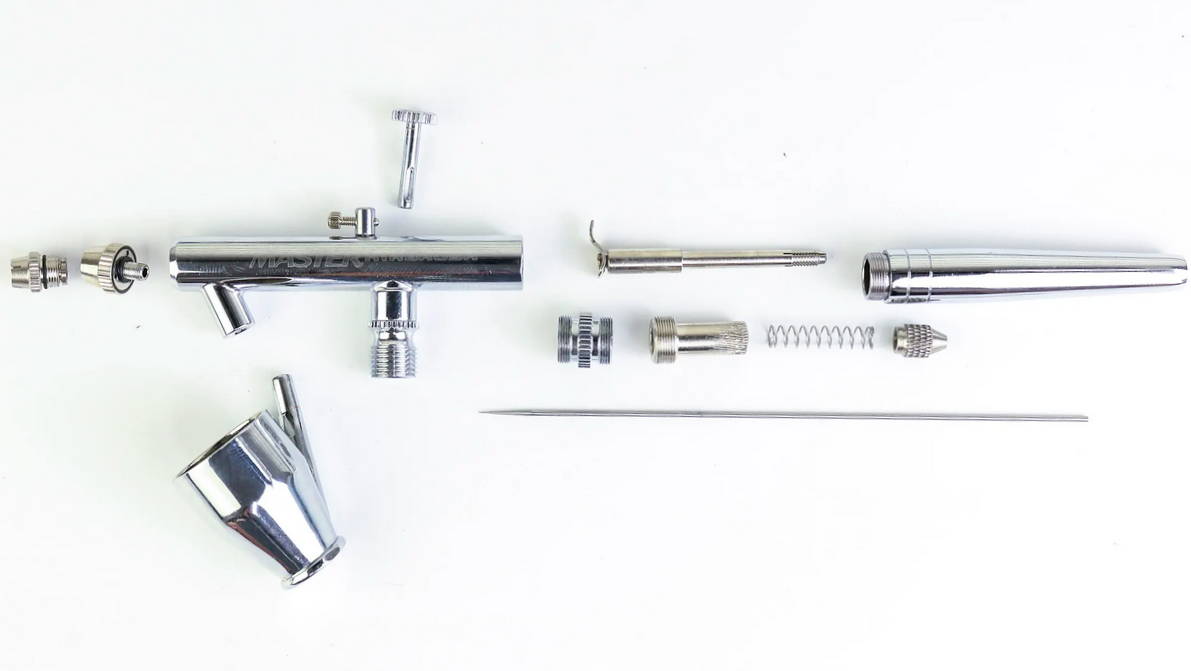
Step 1.
Unscrew the handle
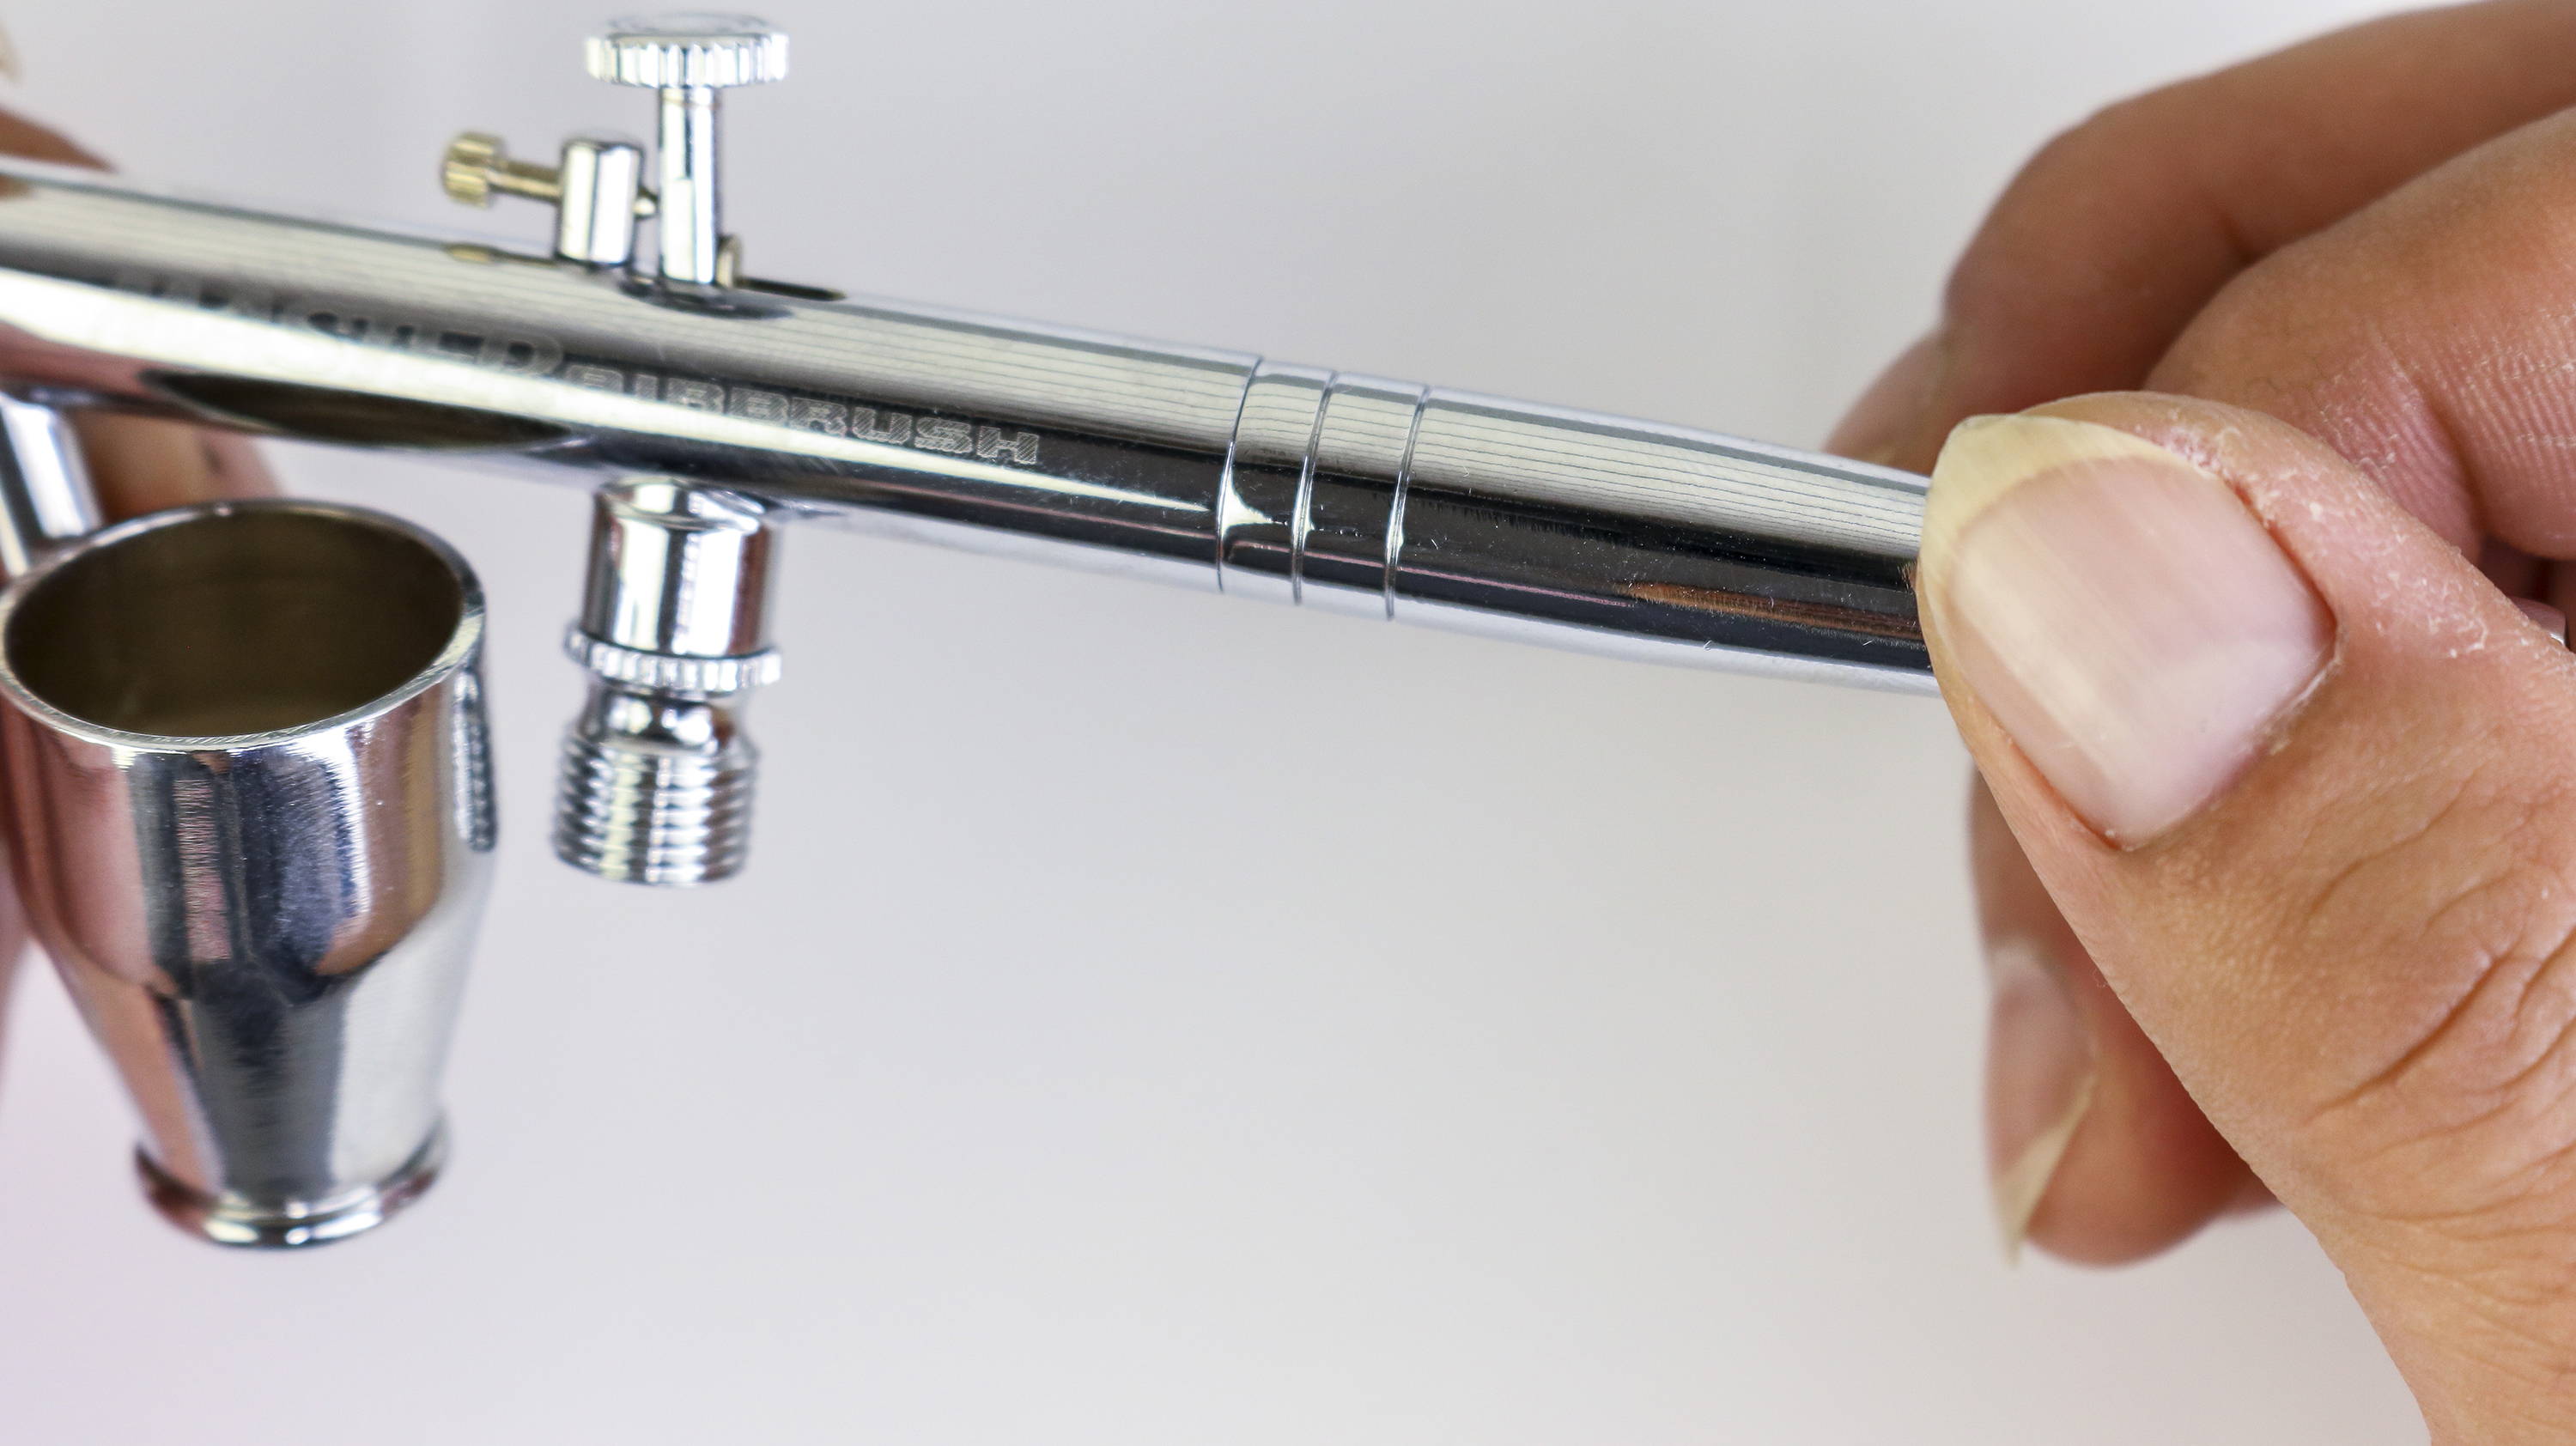
Step 2.
Remove the handle and set aside
Step 3.
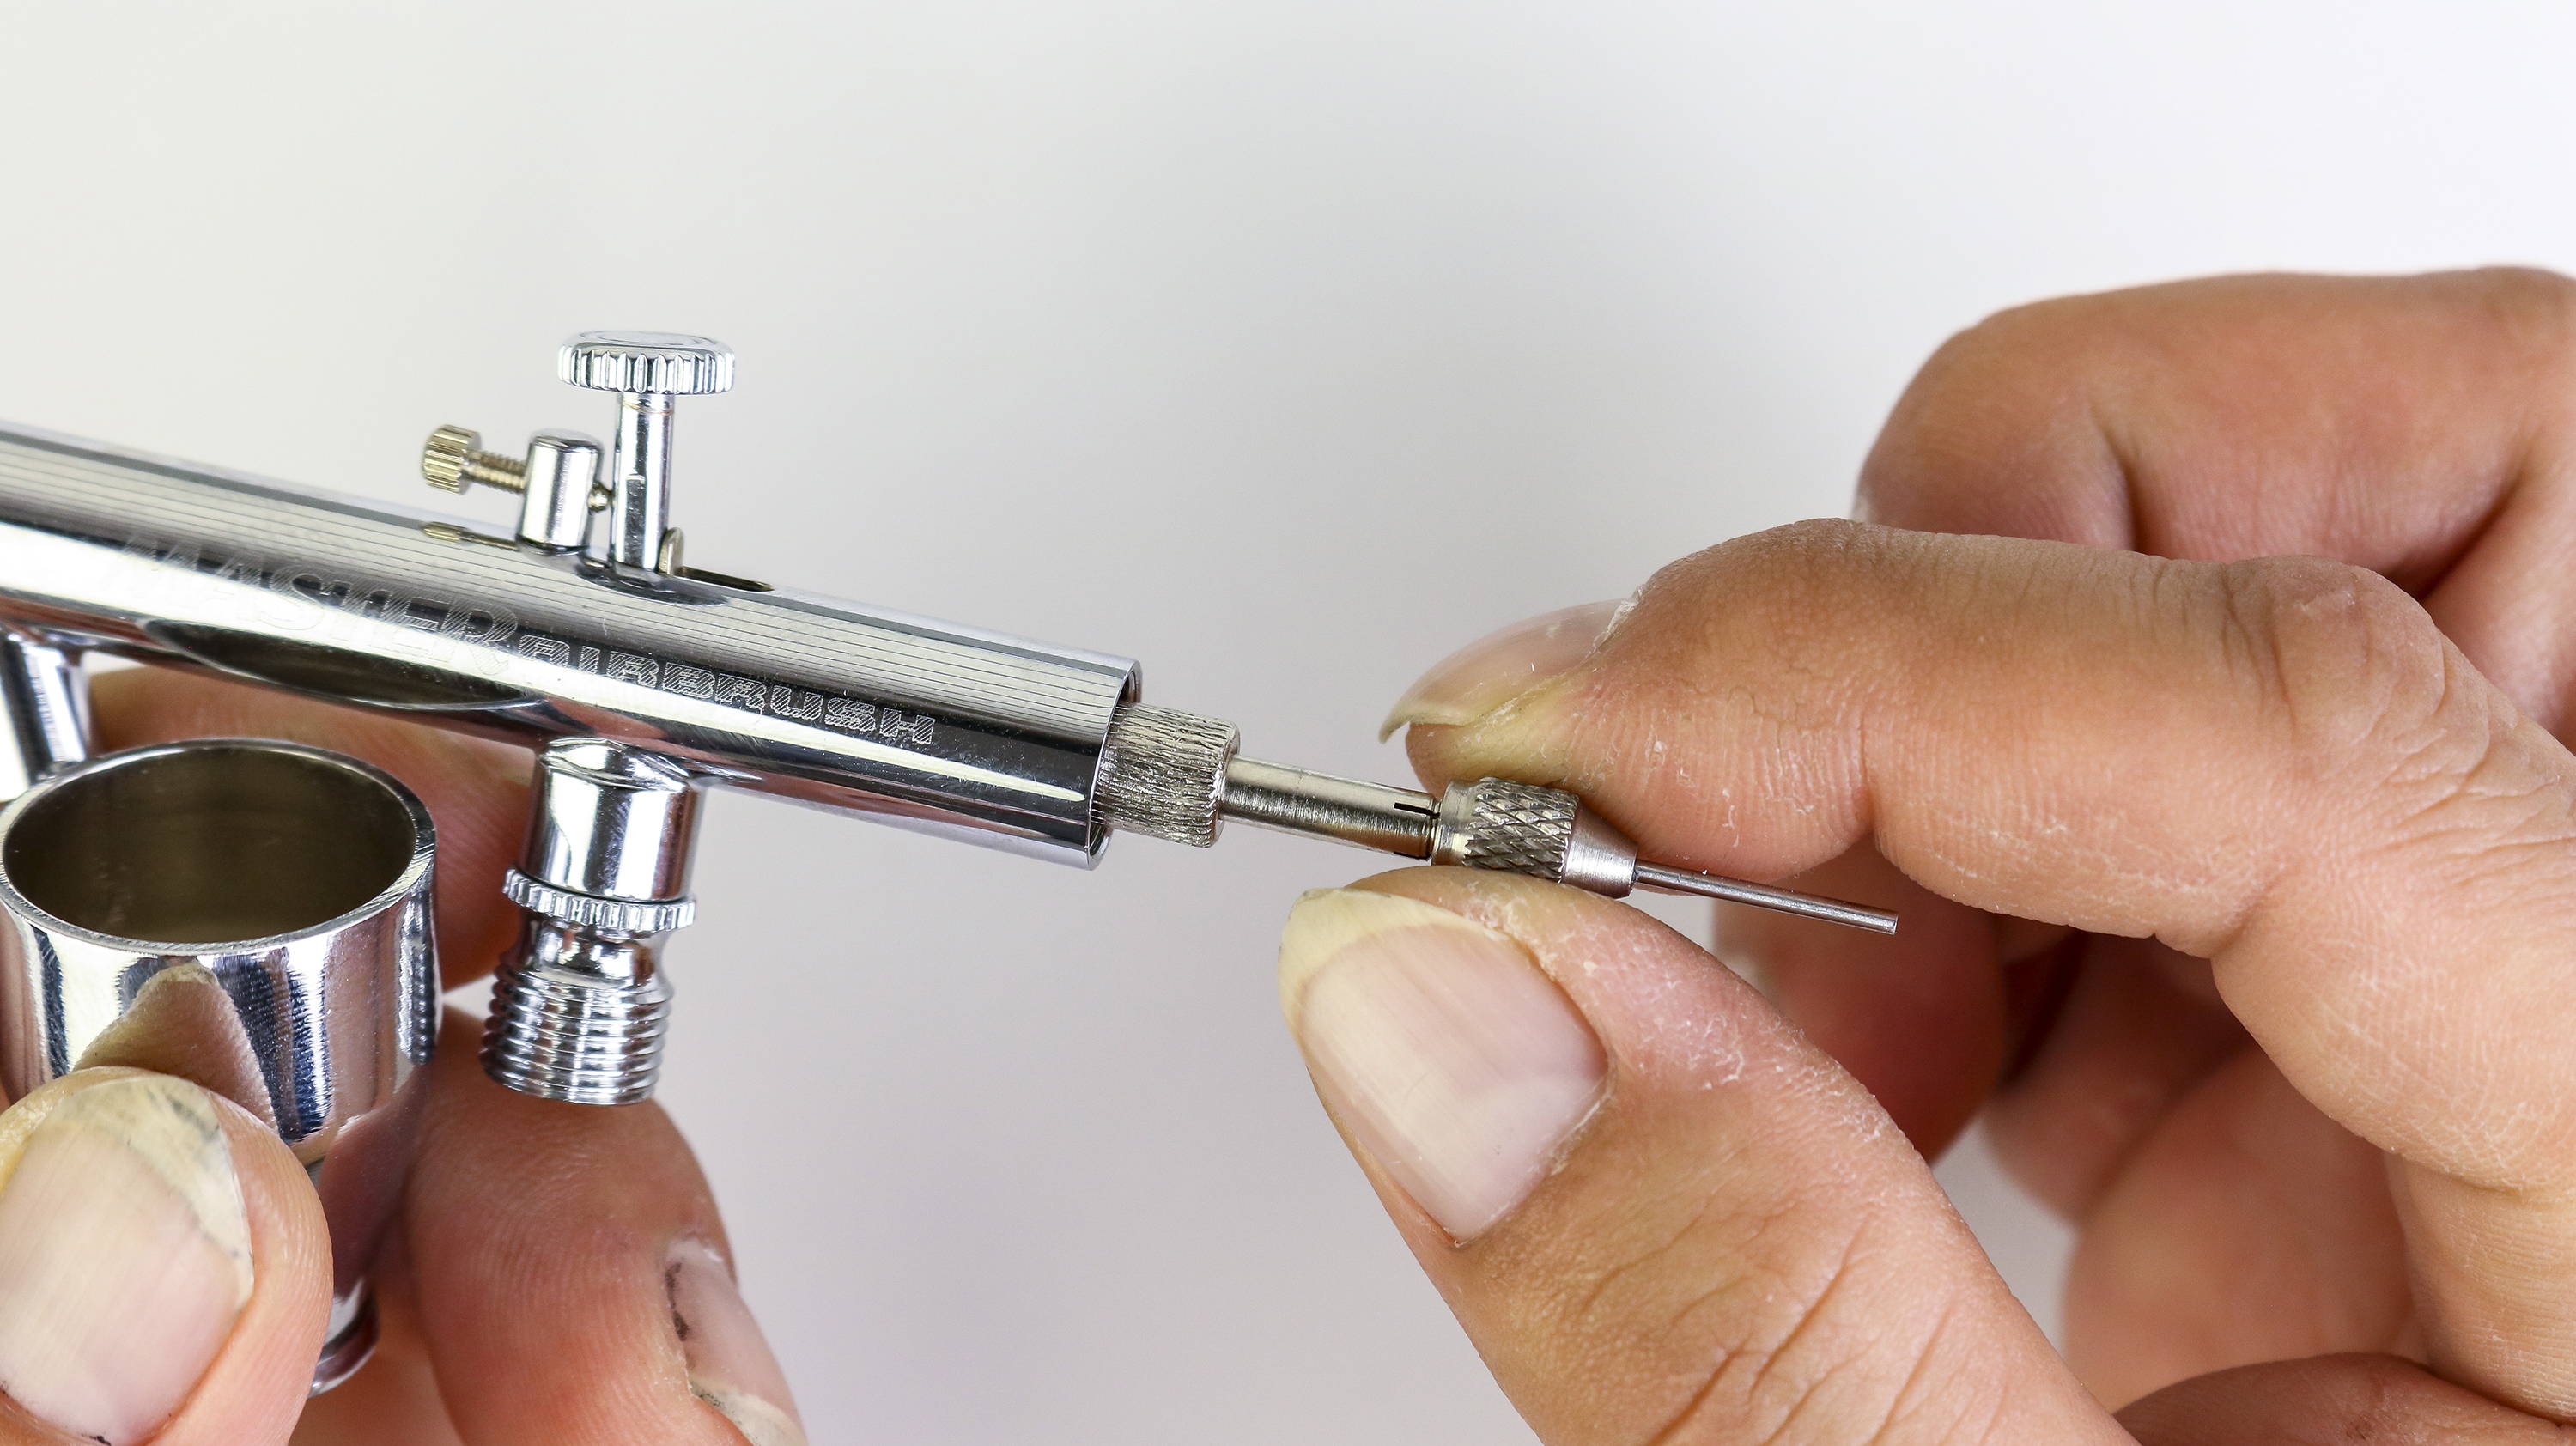
Unscrew the needle chucking nut and set aside
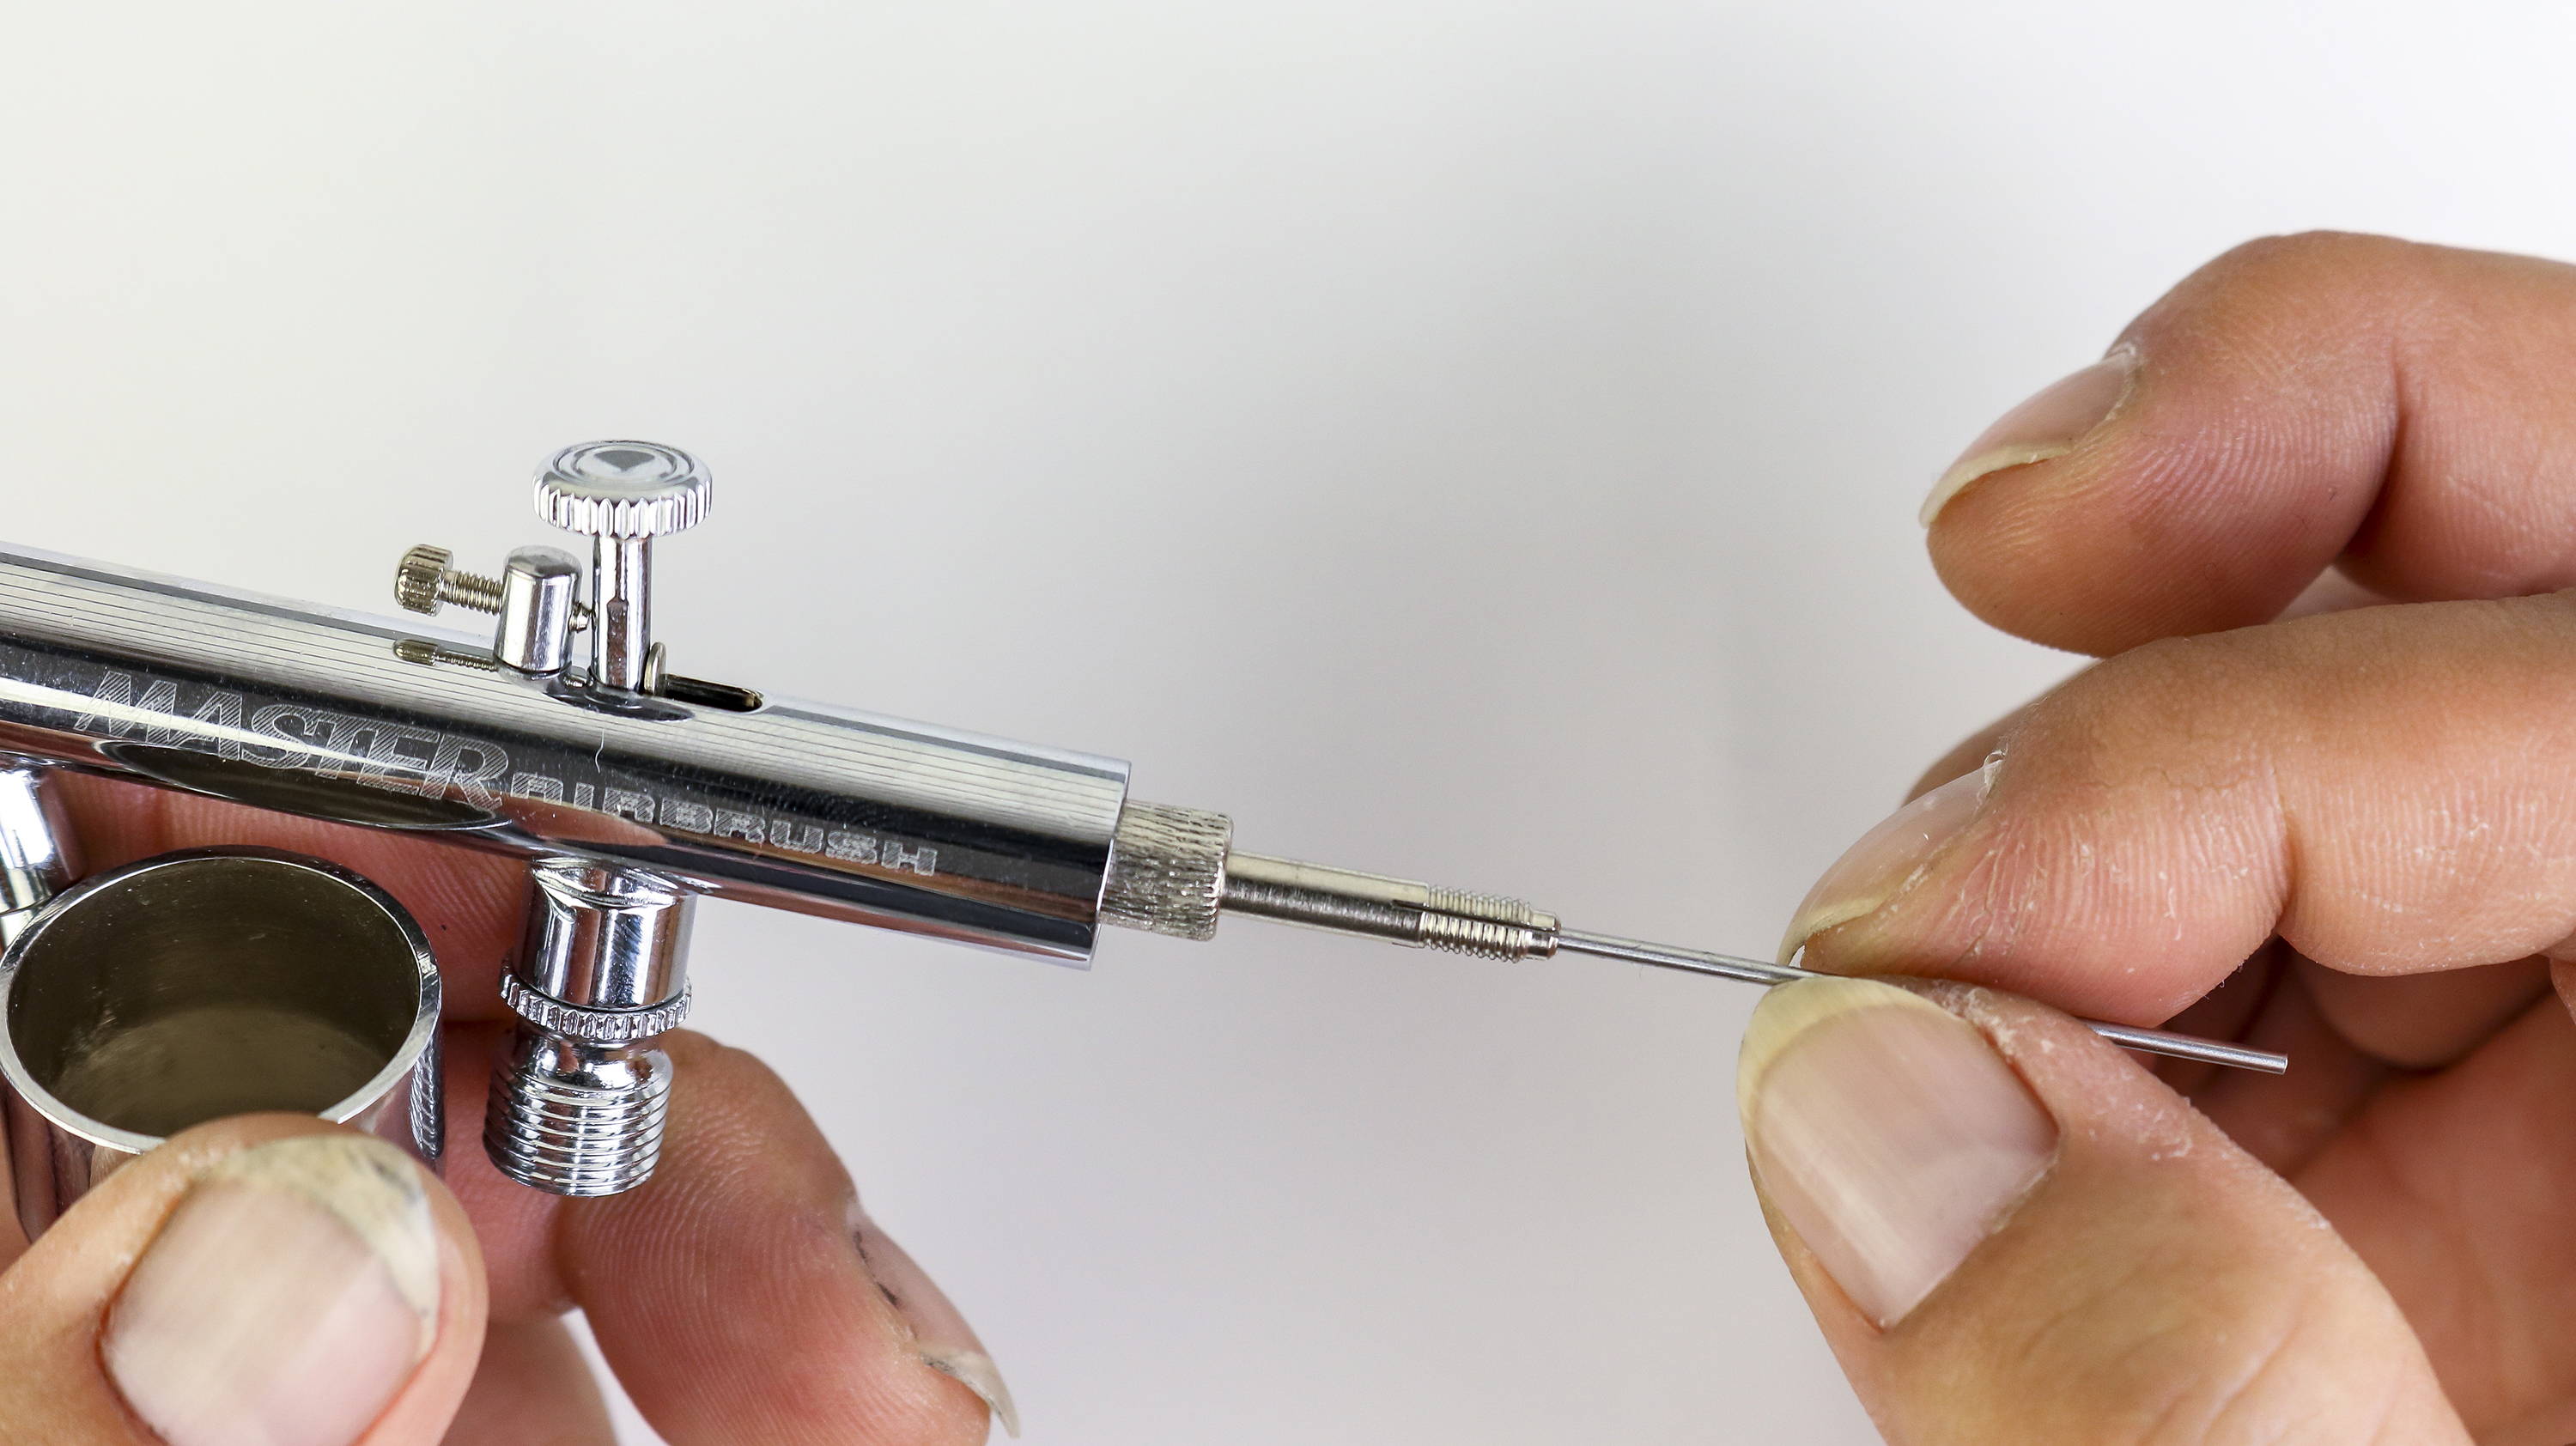
Carefully remove the needle and wipe clean with cleaning solution and a paper towel. Look for any bending on the tip of the needle, then set aside

Unscrew the spring guide and set aside
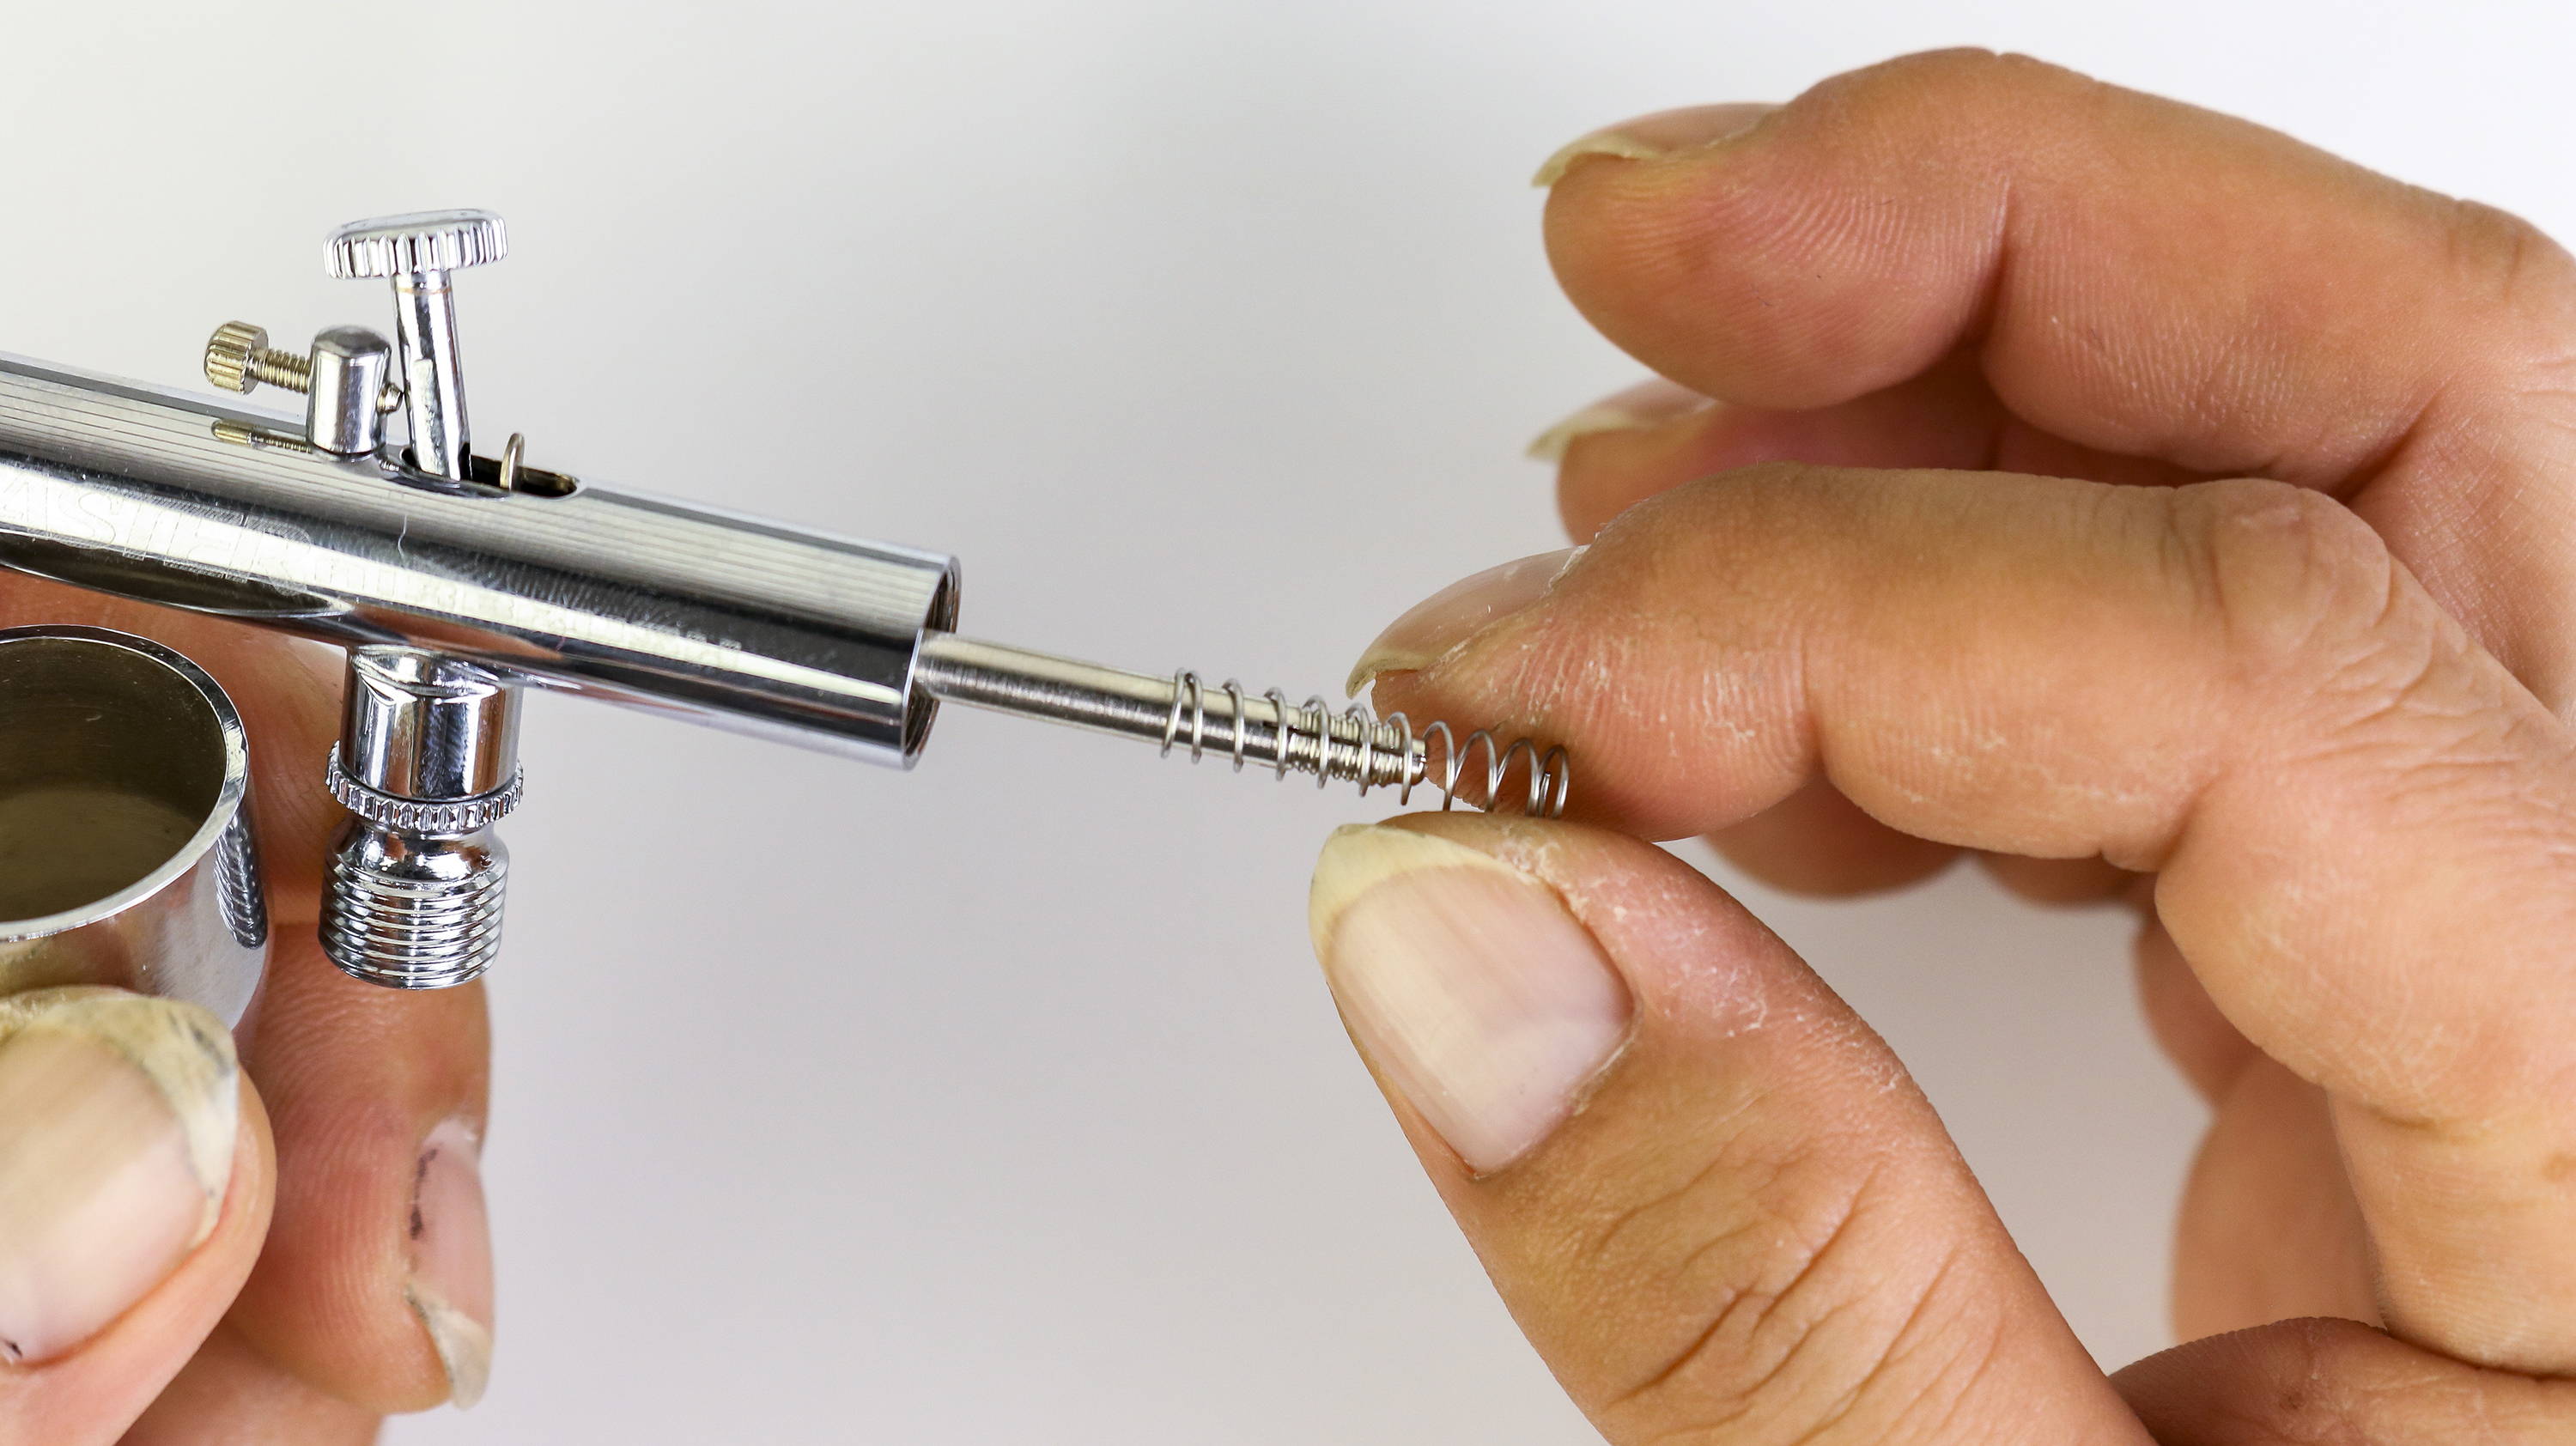
Remove the spring and set aside
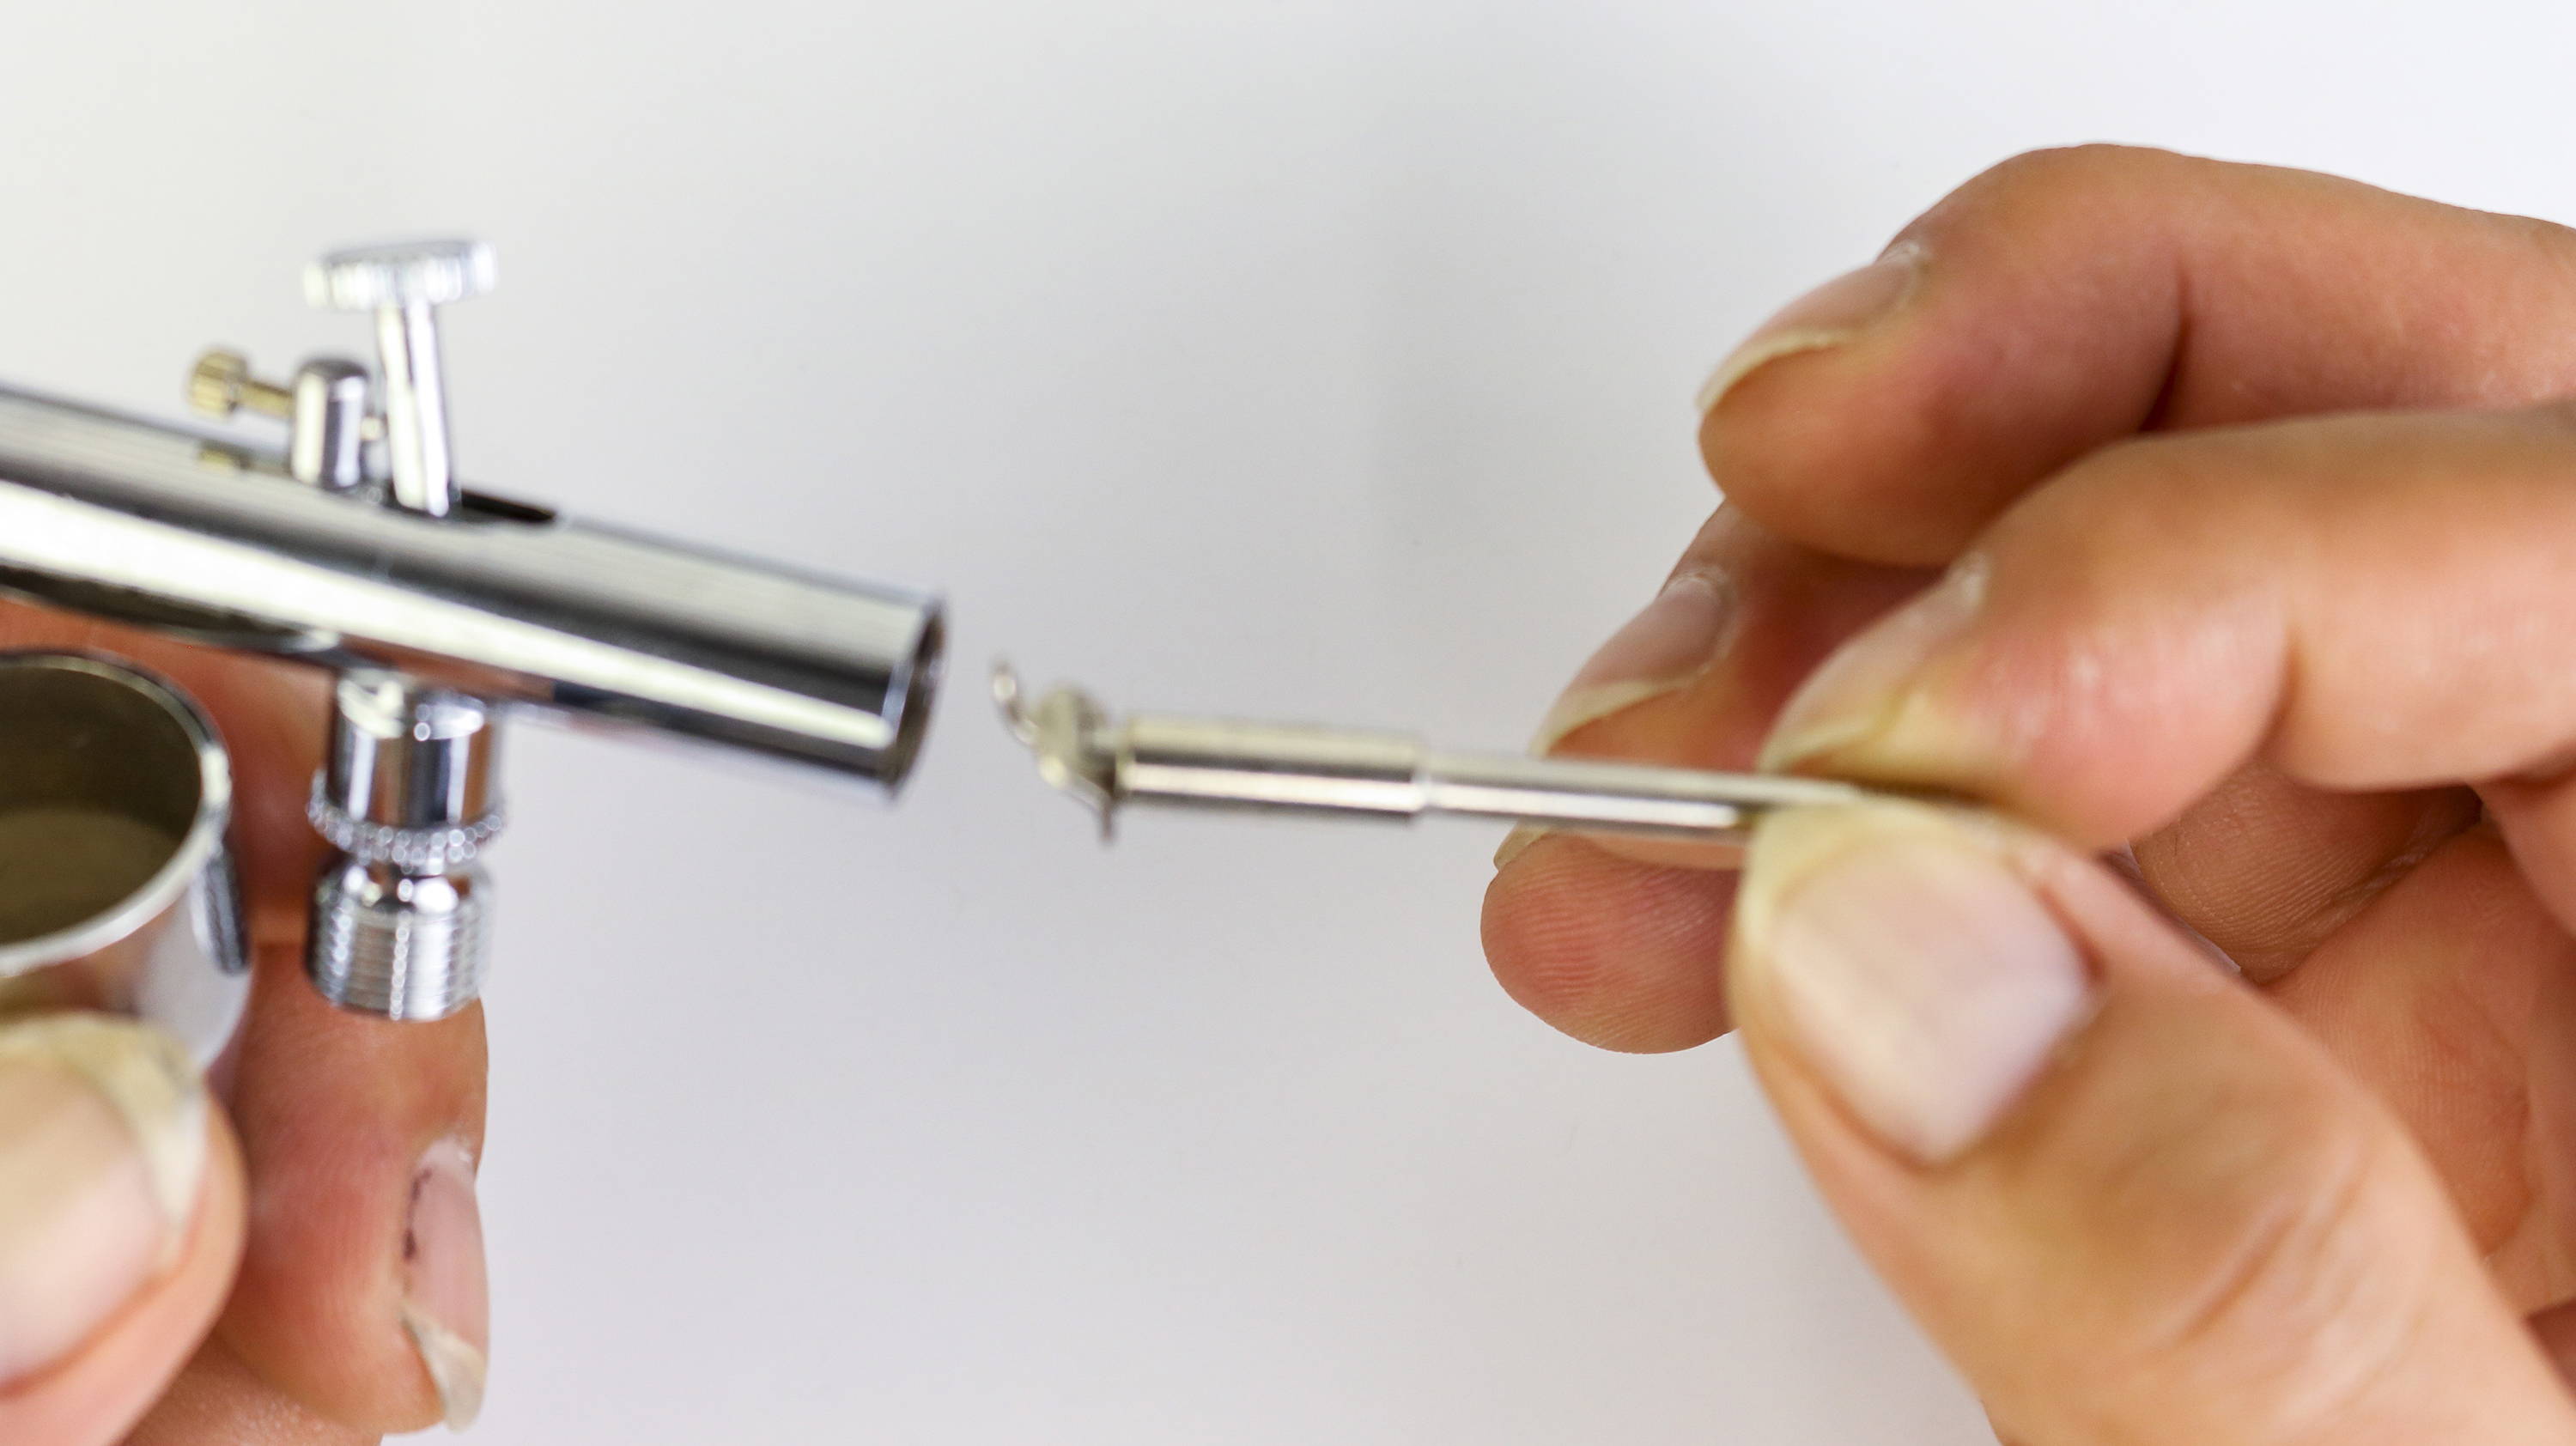
Carefully remove the needle chucking guide (with auxiliary lever) and set aside
Lift up the trigger and set aside
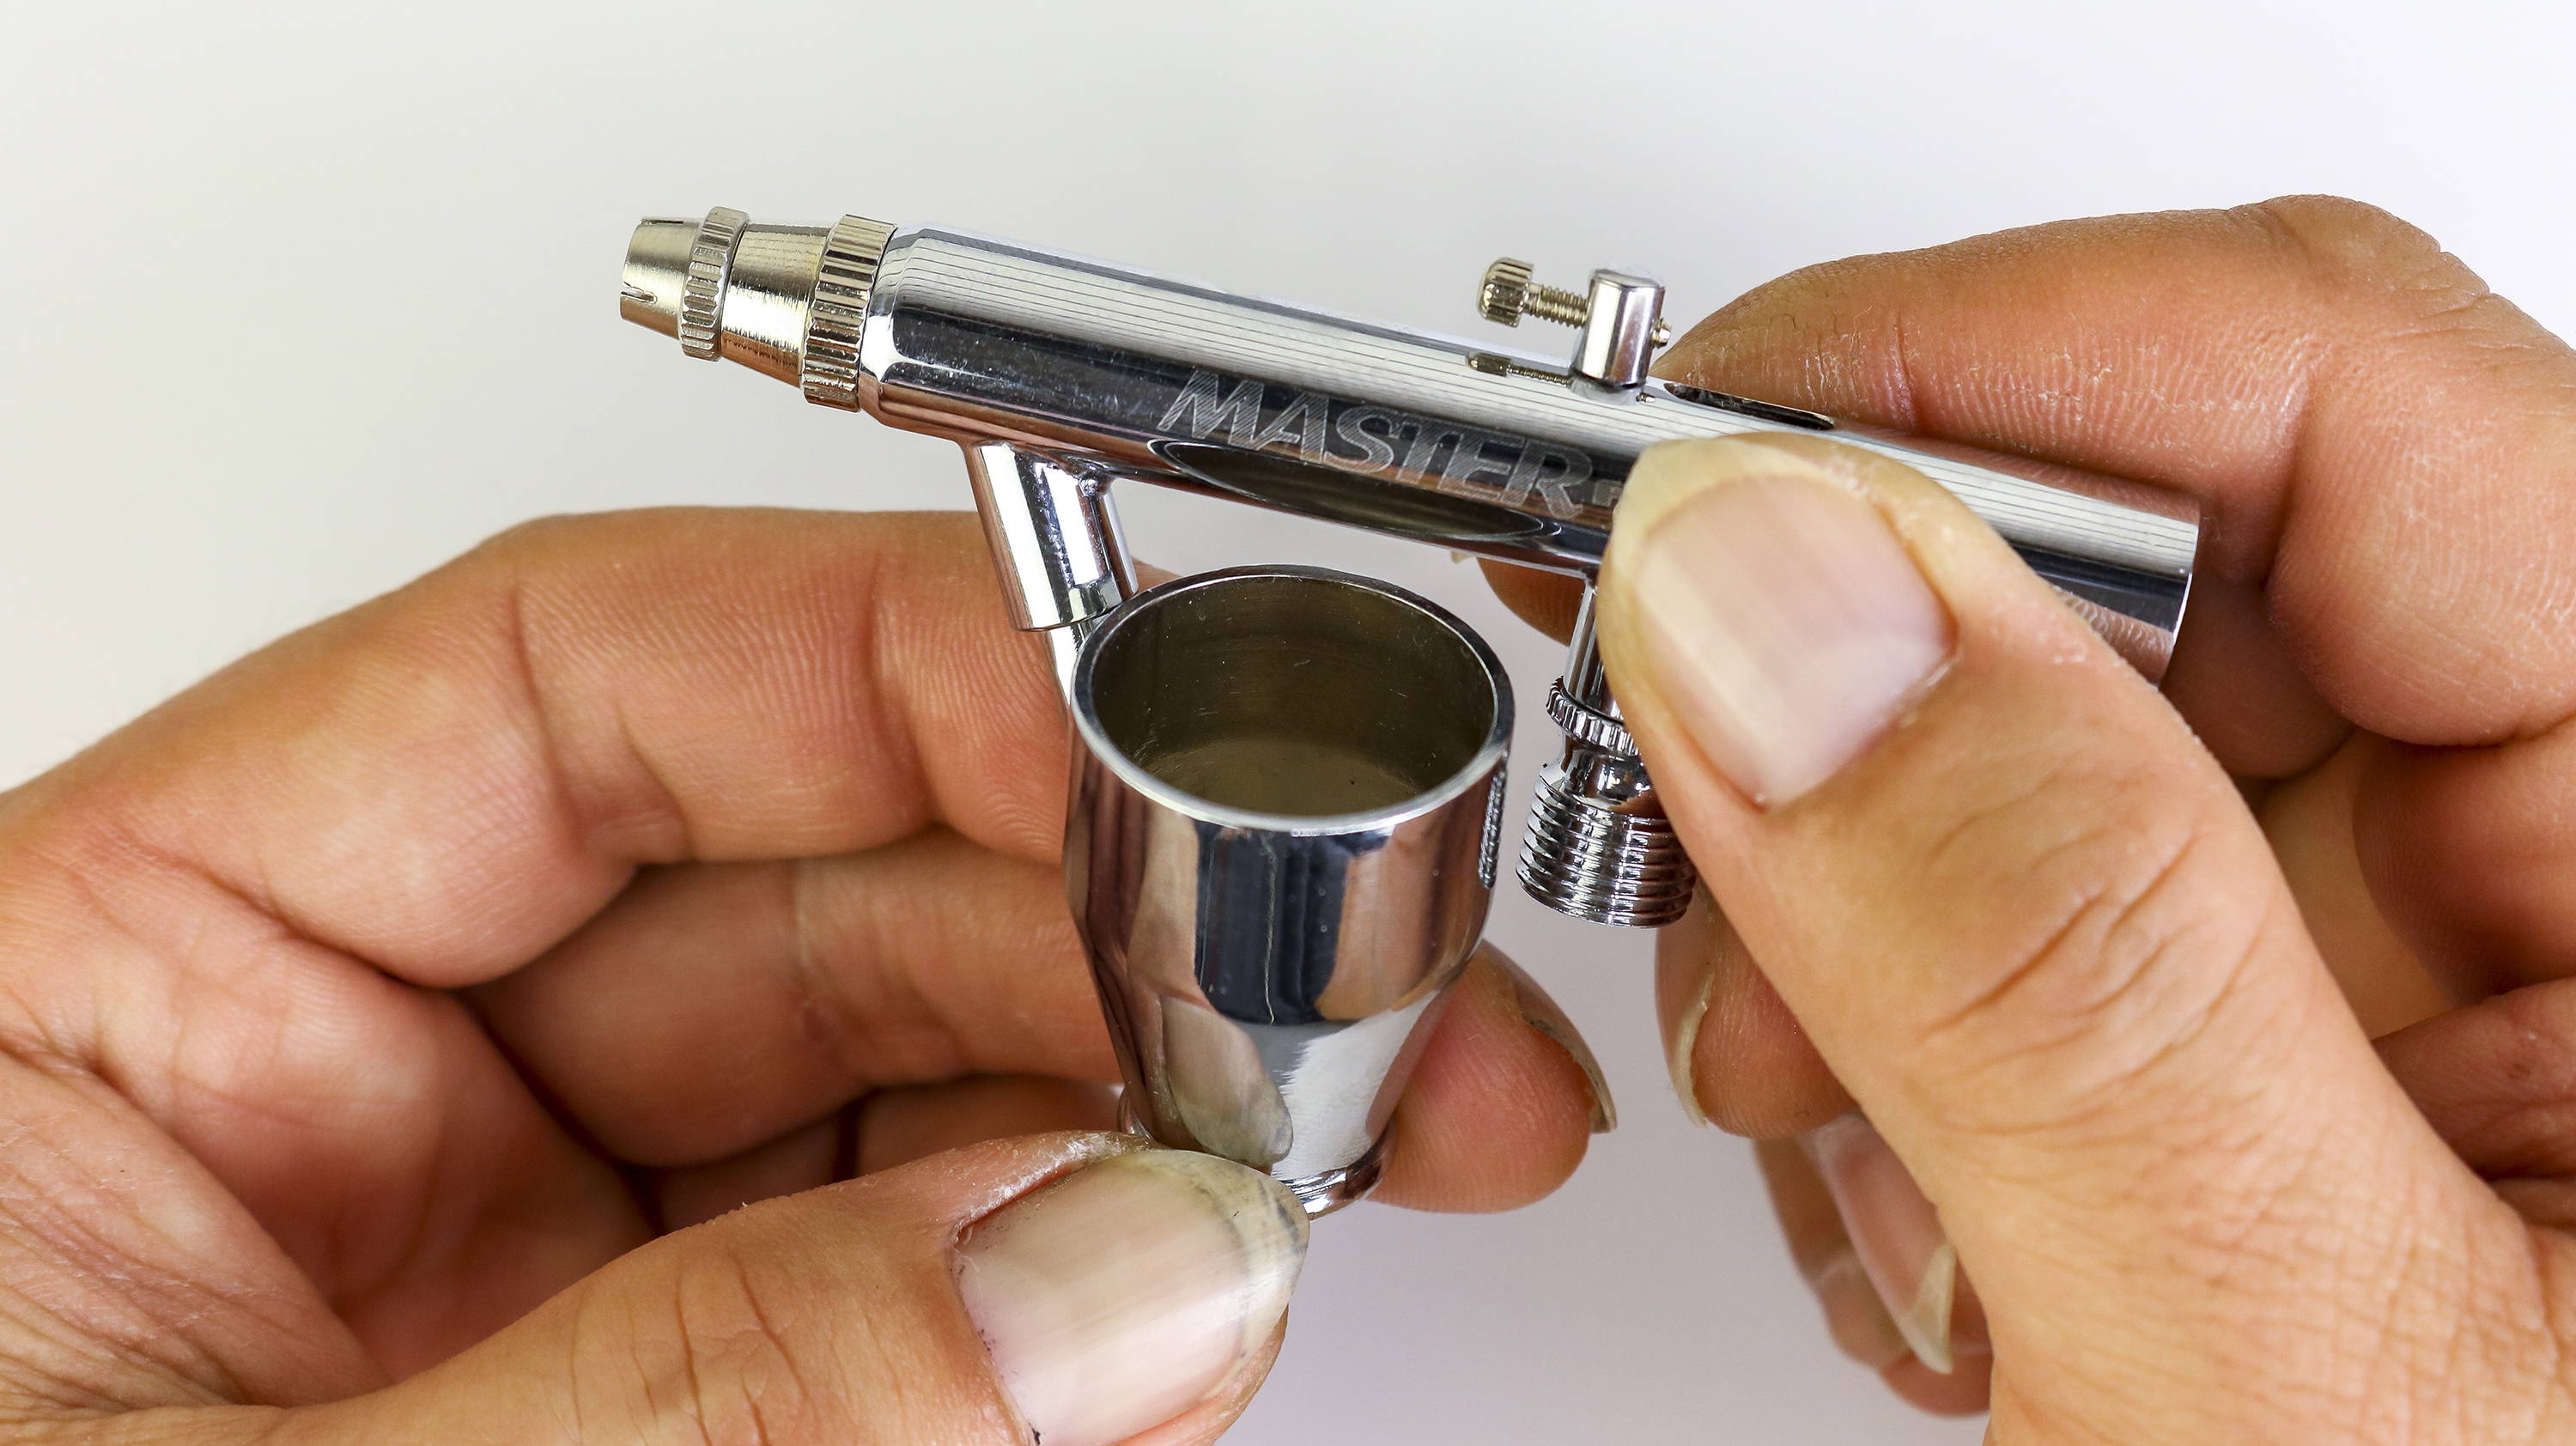
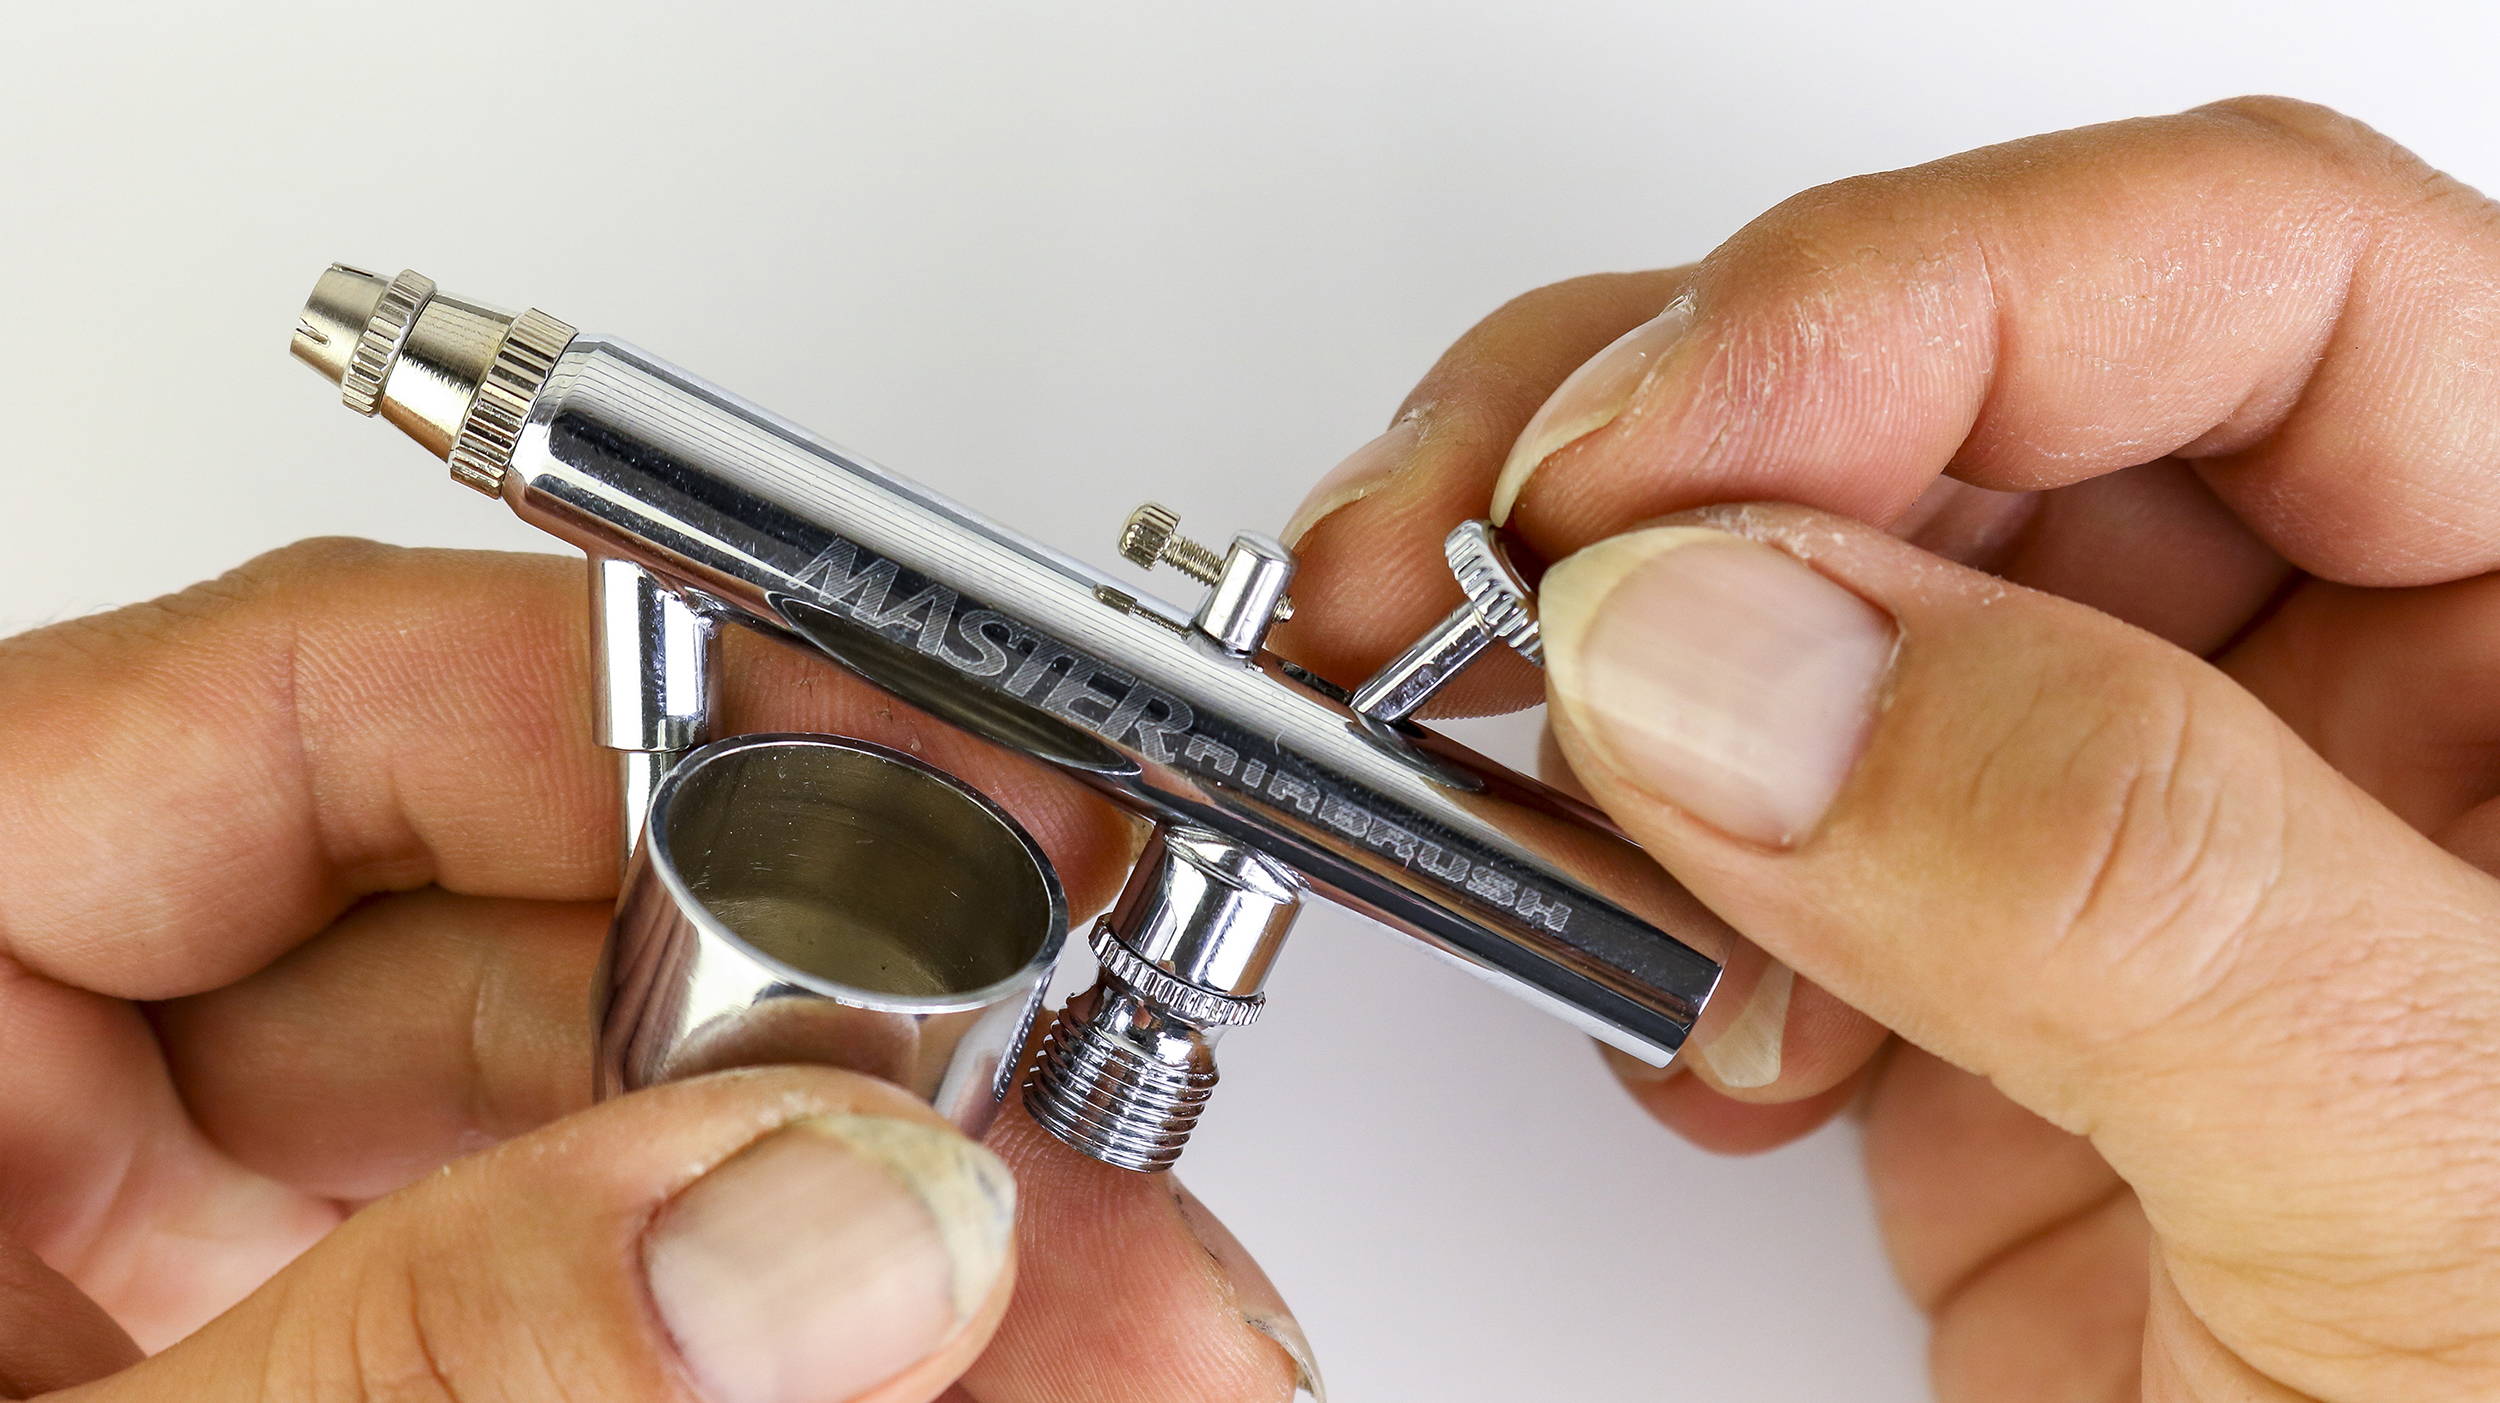
Remove the color jar from the bottom of the airbrush
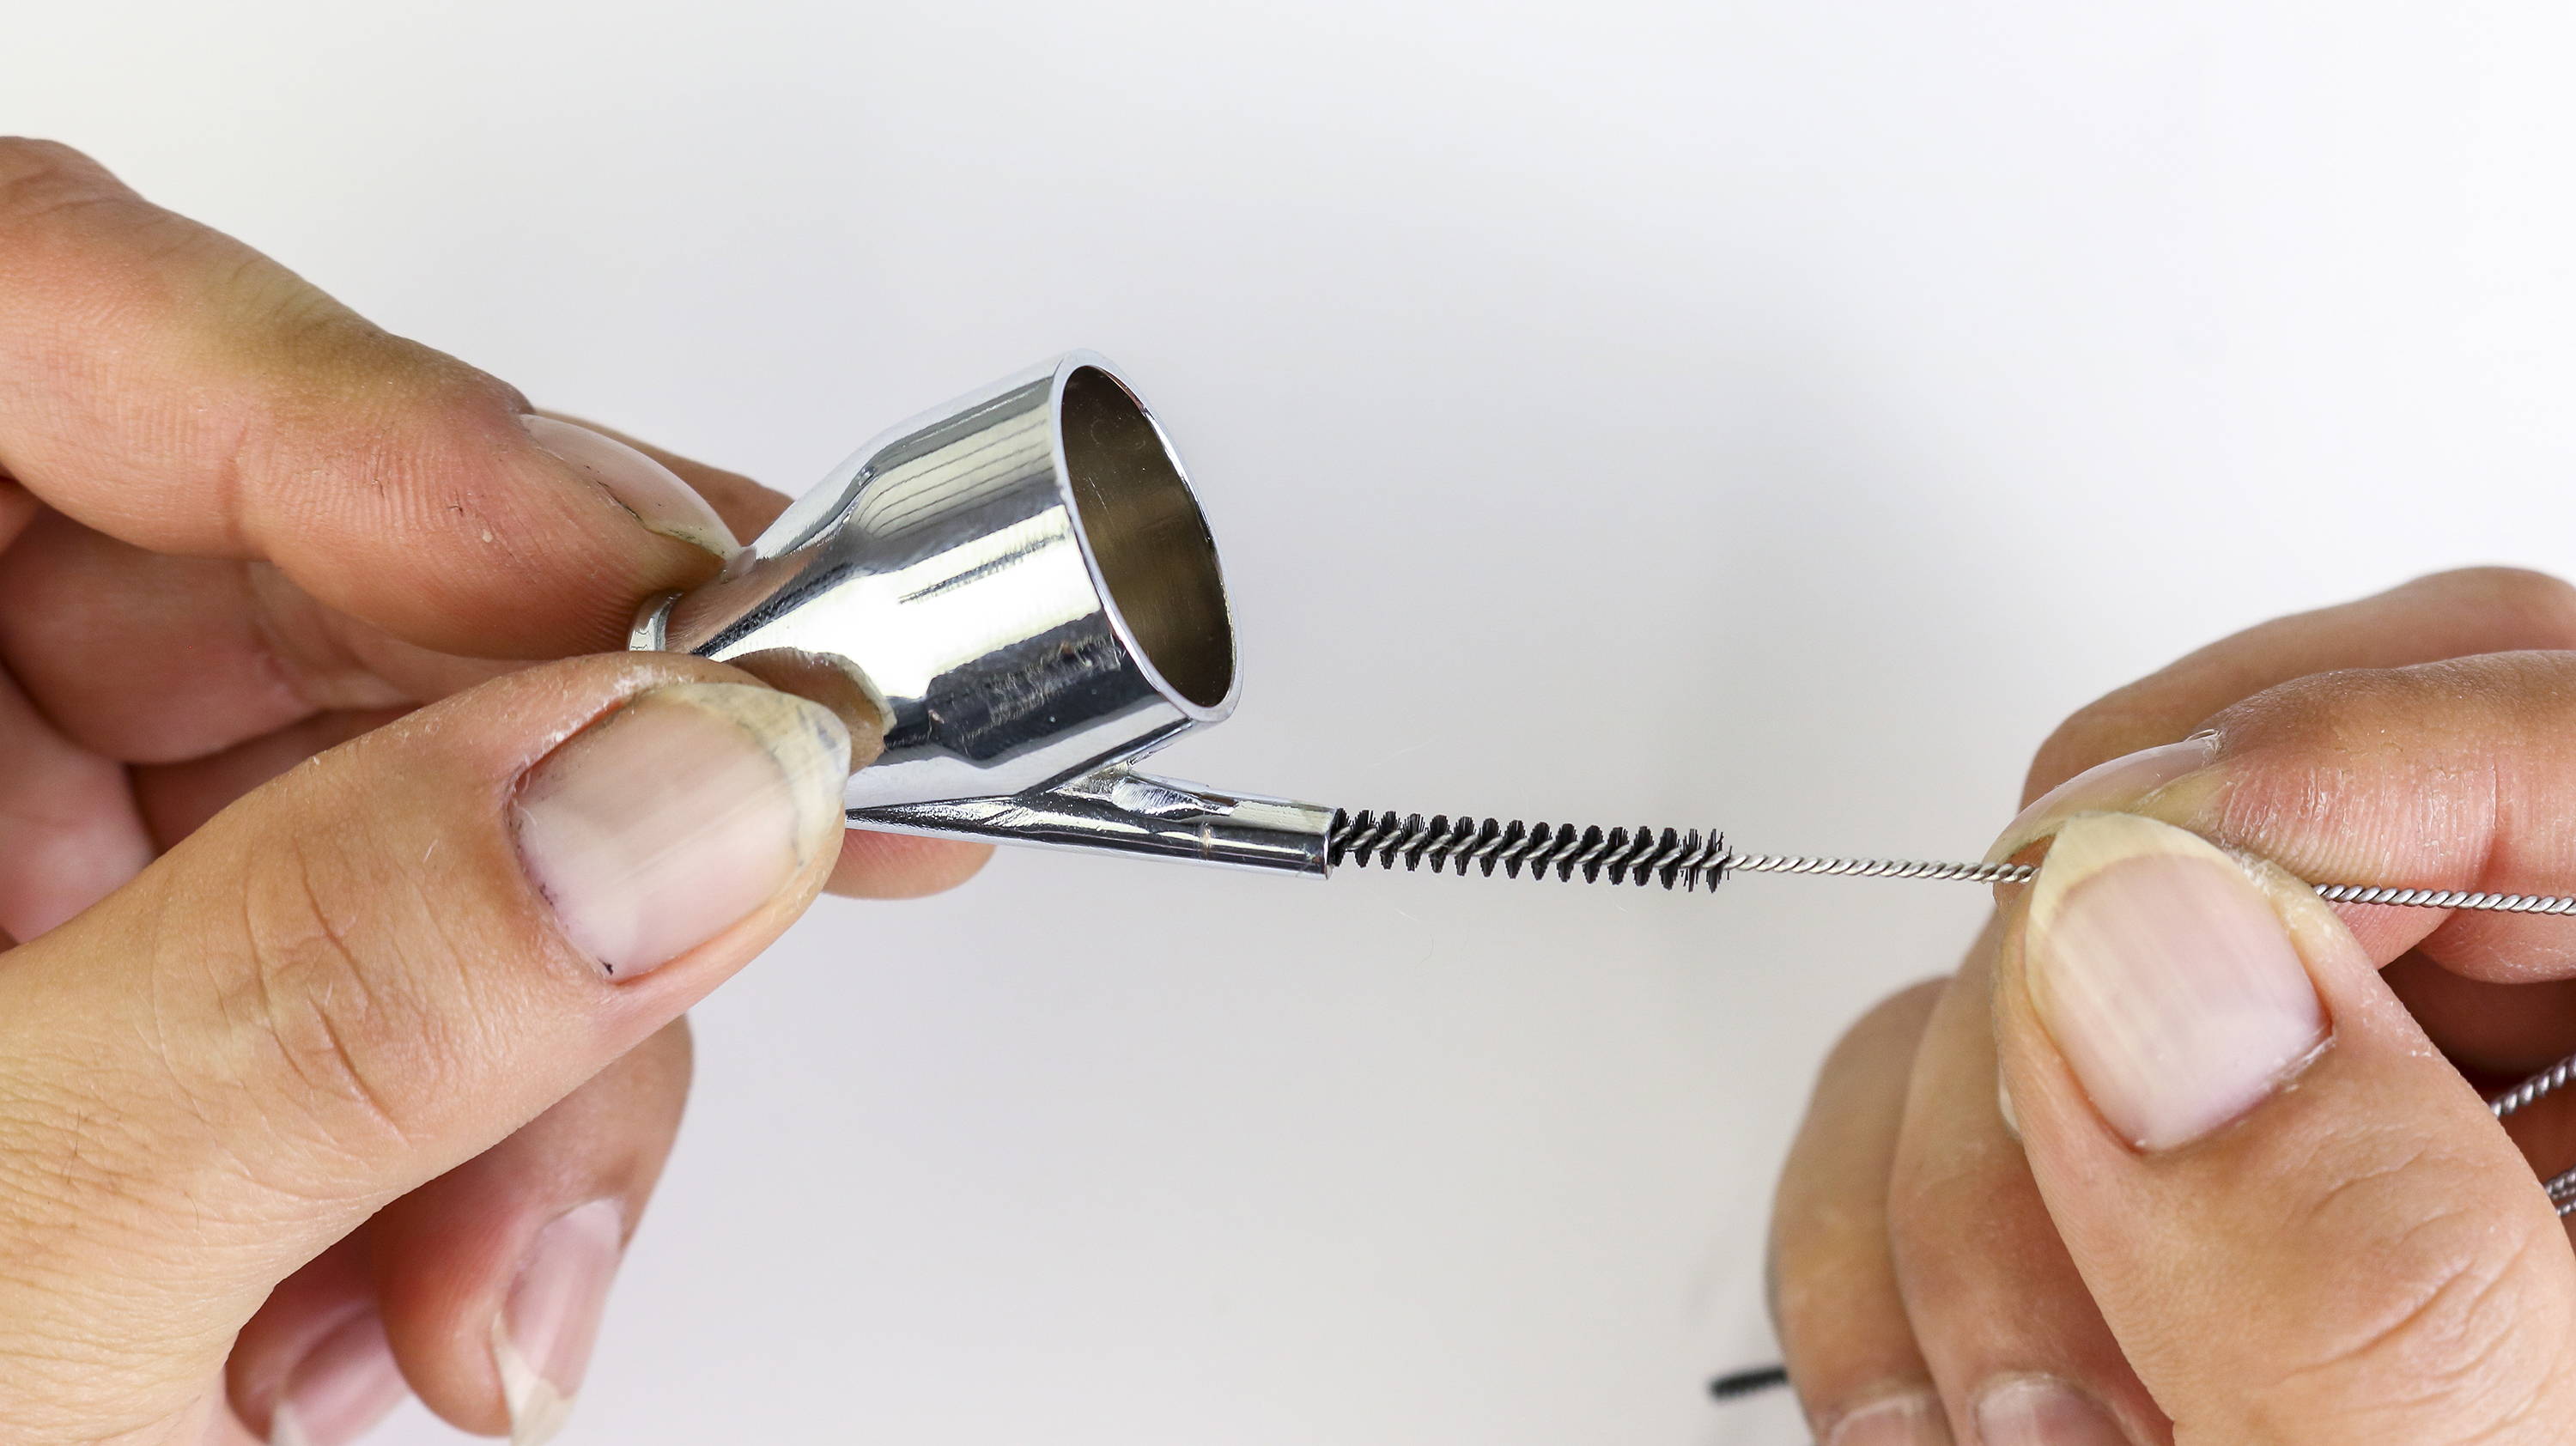
Use the cleaning brush to clean the color cup, then rinse

Unscrew the Needle cap
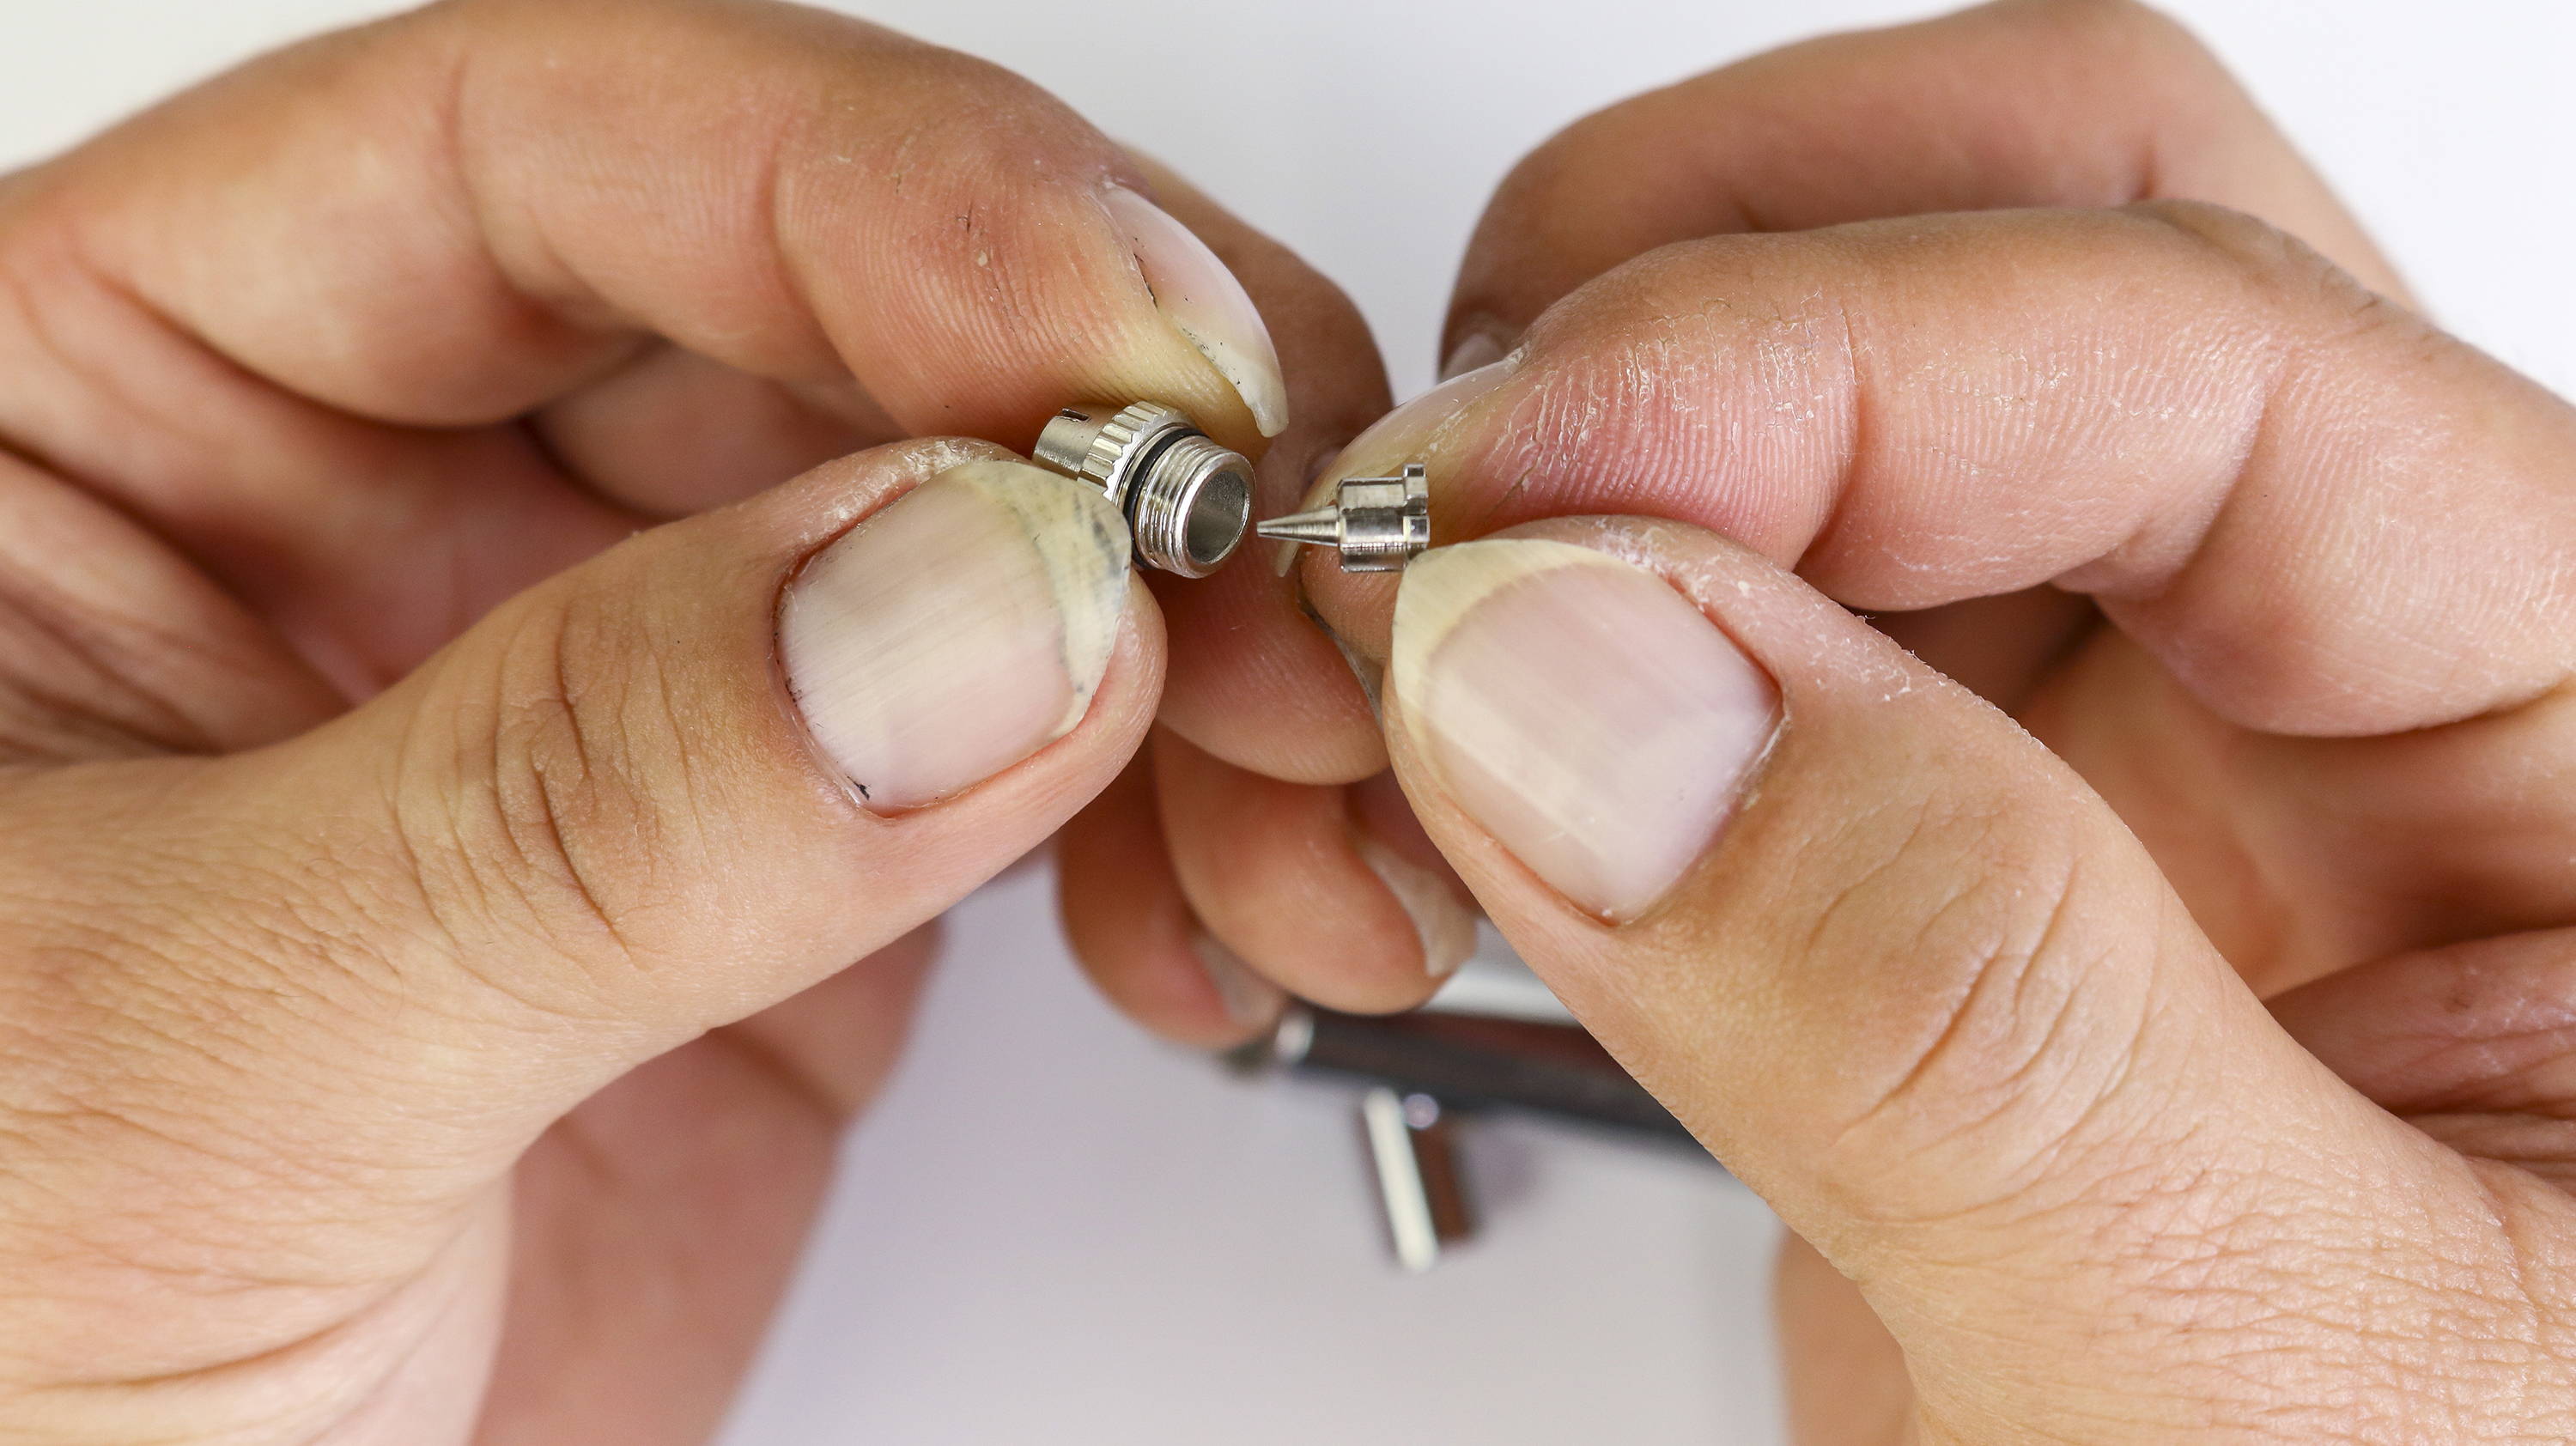
Remove the nozzle inside and set aside
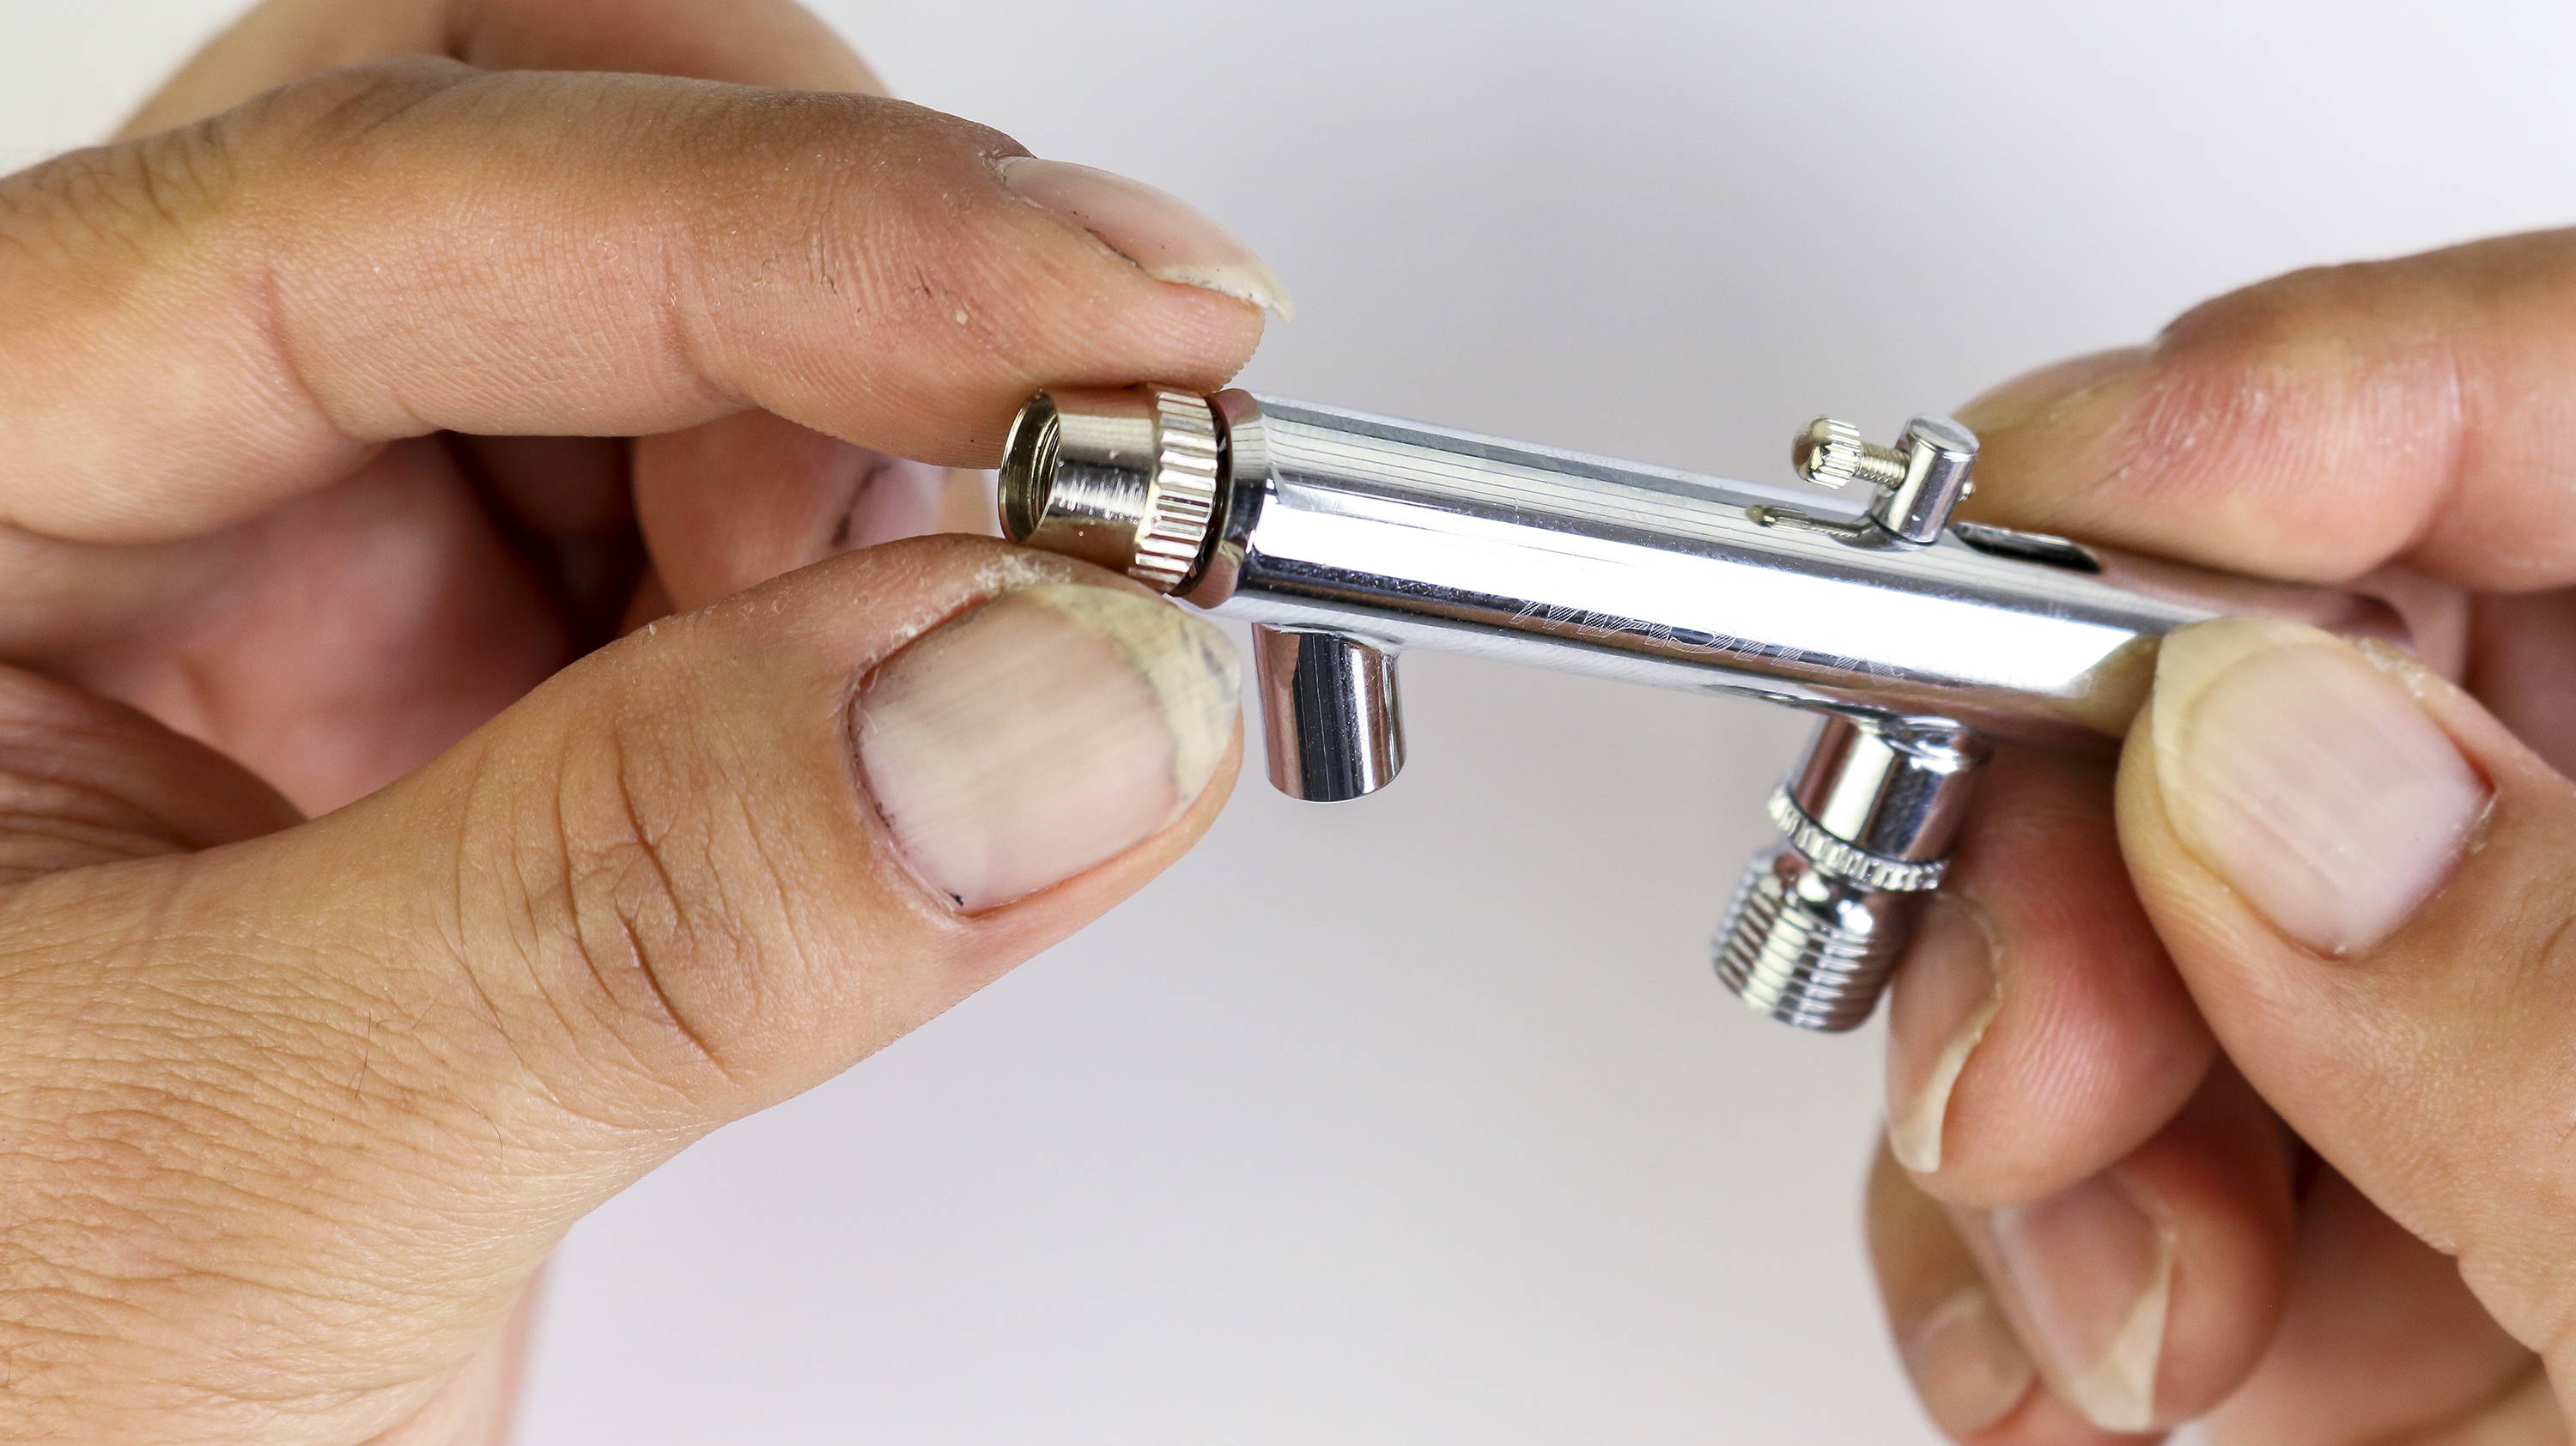
Unscrew the Air cap and set aside
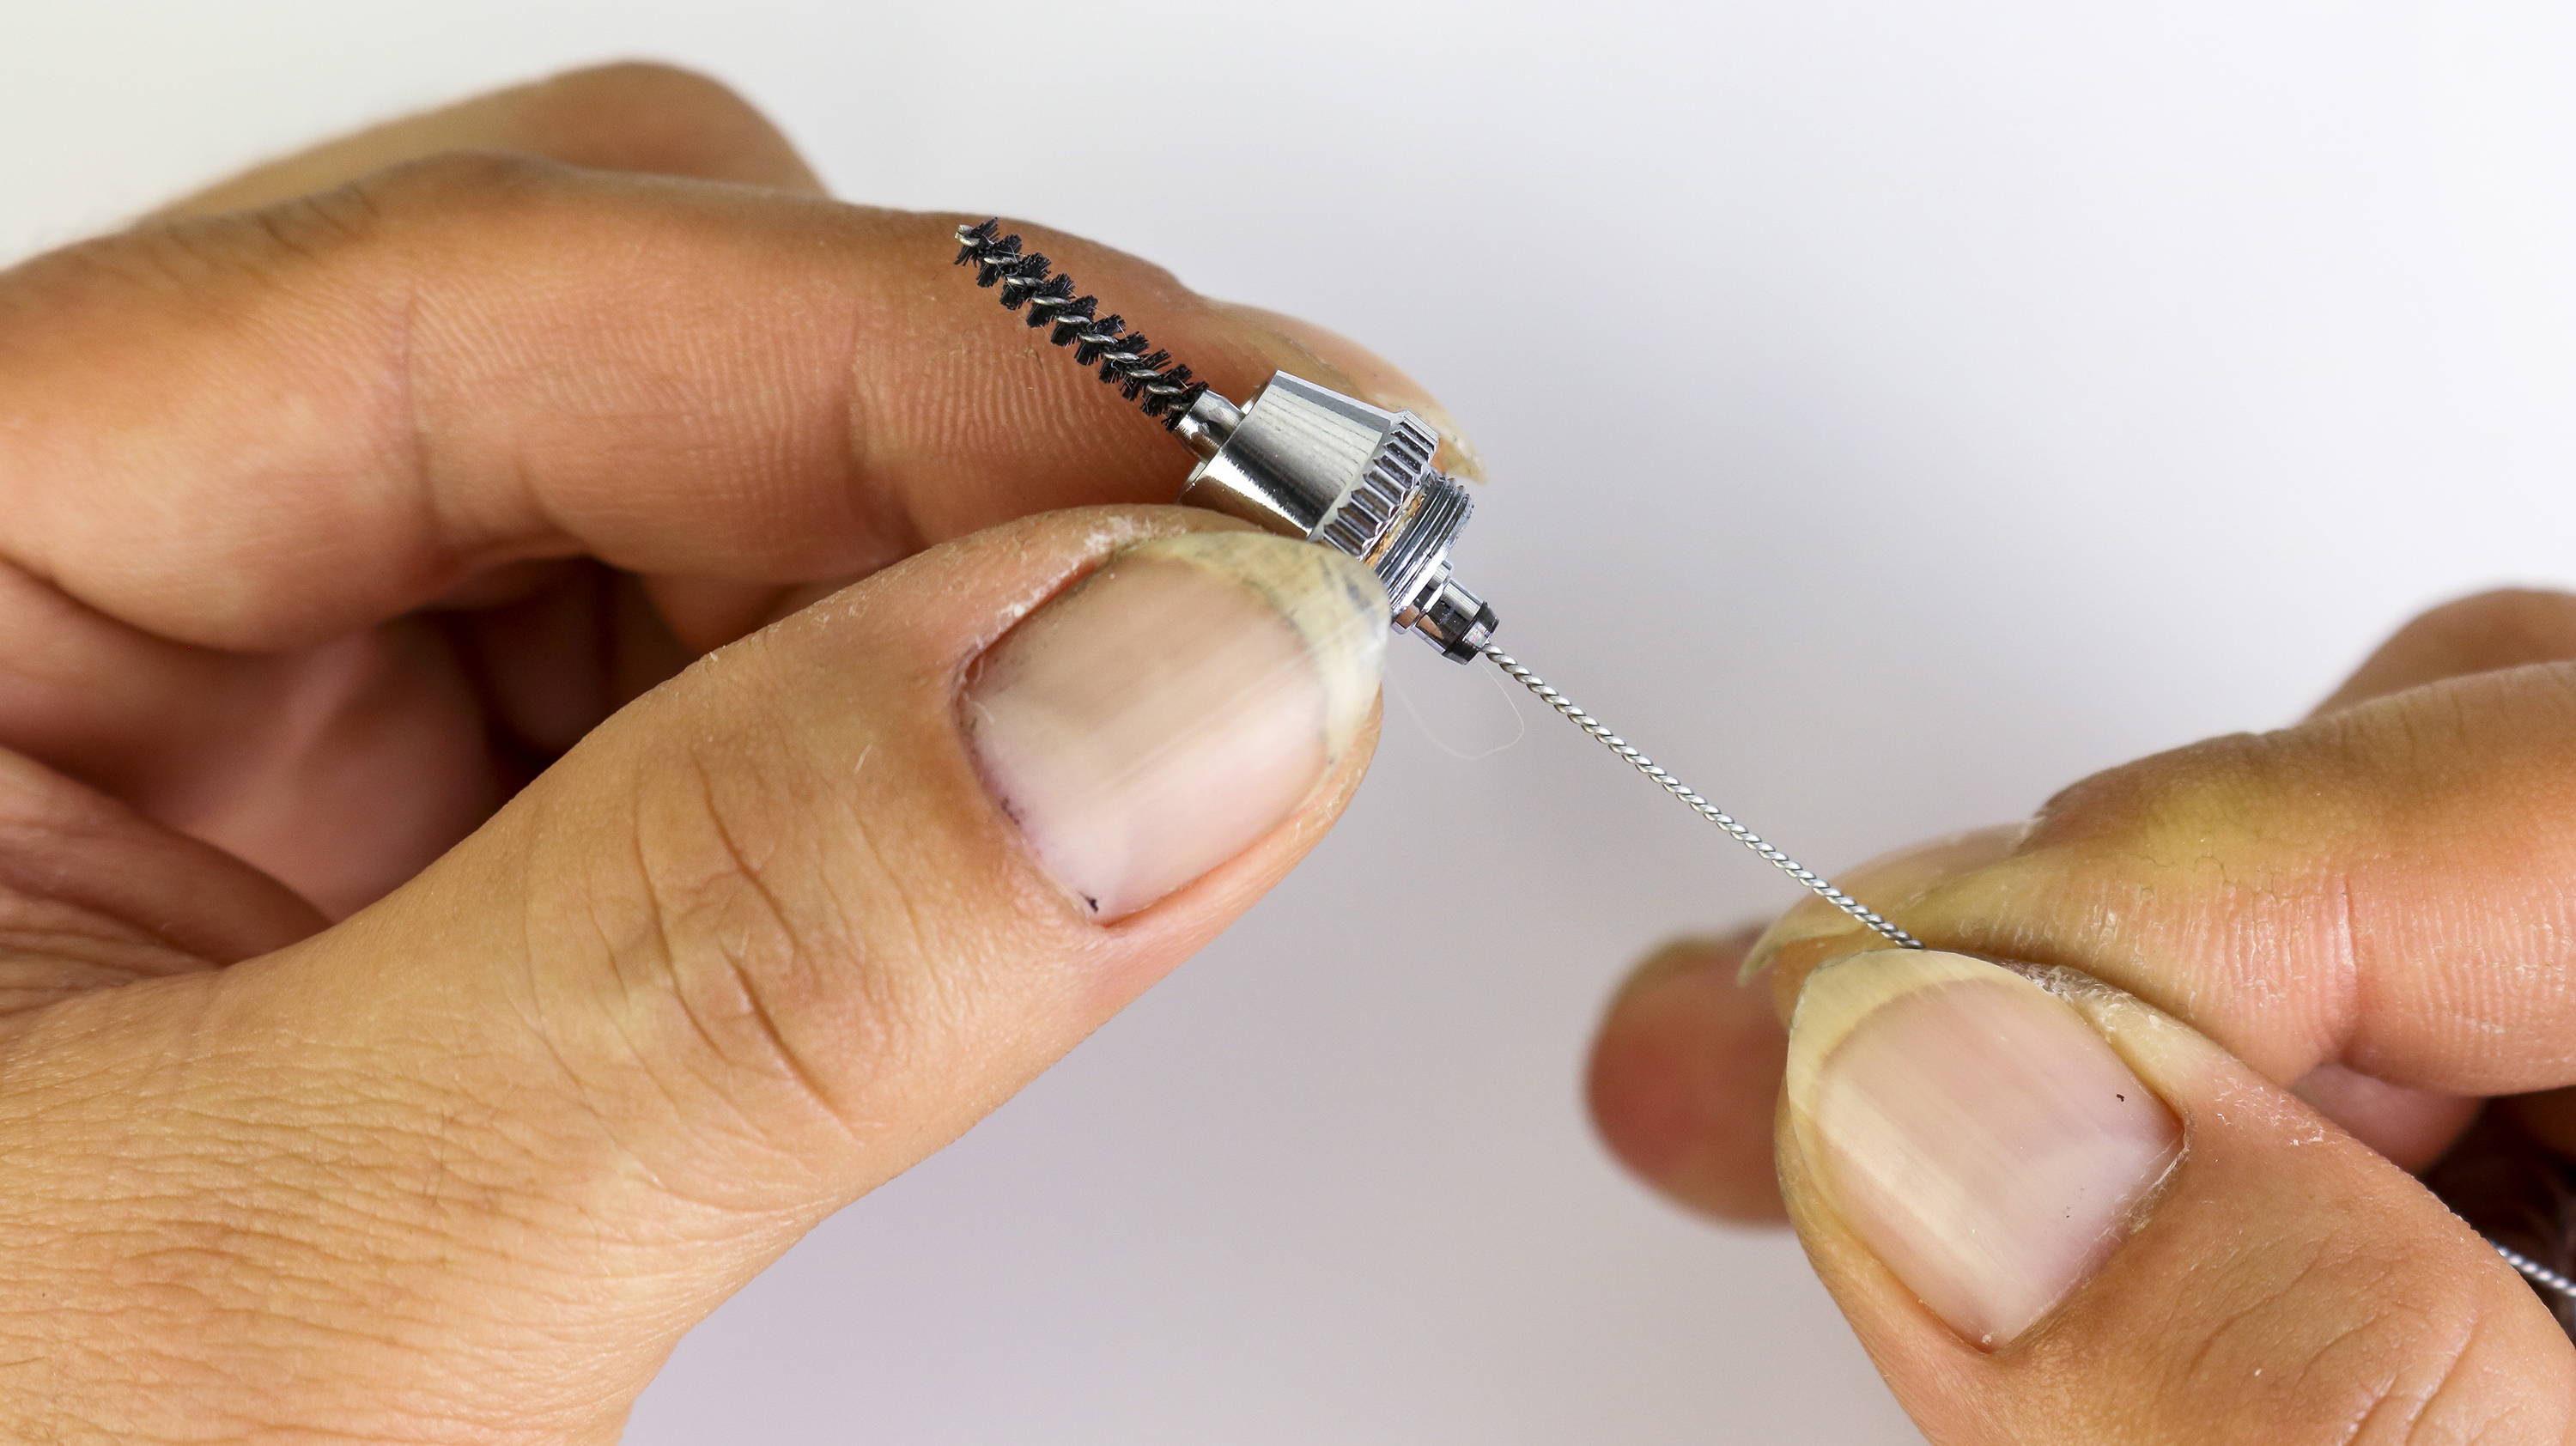
Use the cleaning brush to clean the inside of the Cap
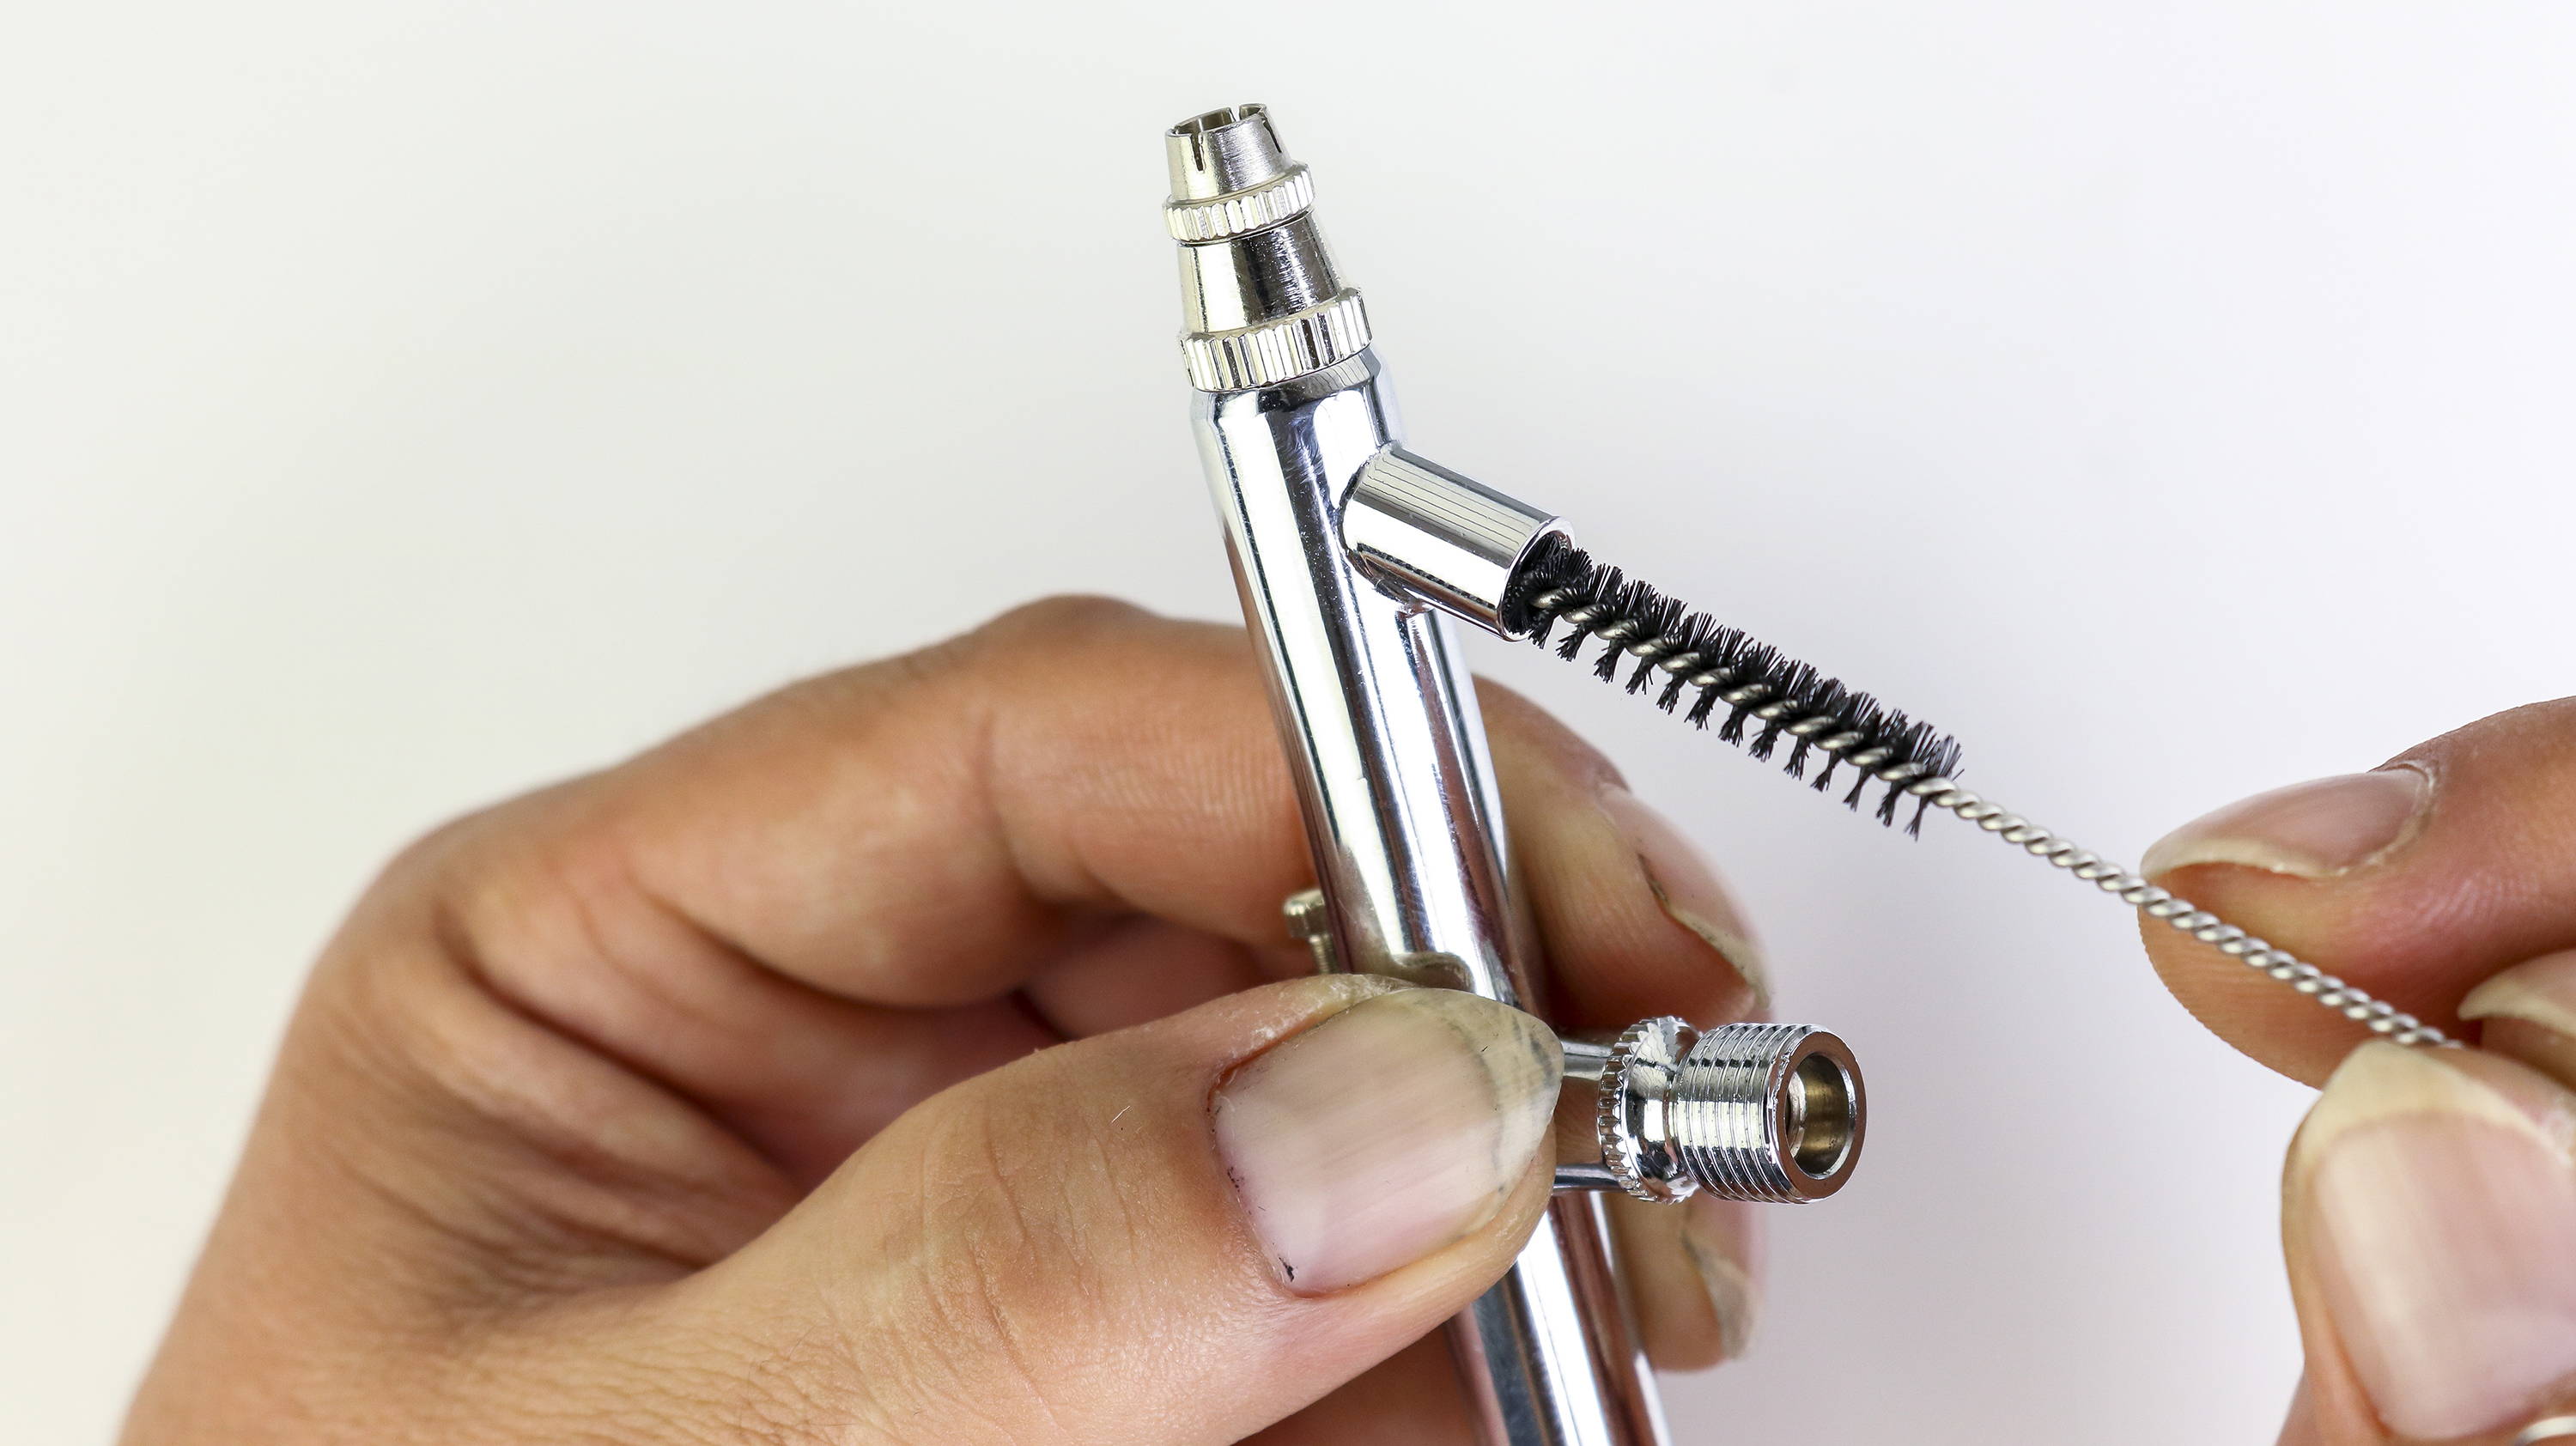
Use the cleaning brush and airbrush cleaner to clean the inside of the Main body of the airbrush. Use a back and forth motion.